Tuesday, May 22nd, 2012
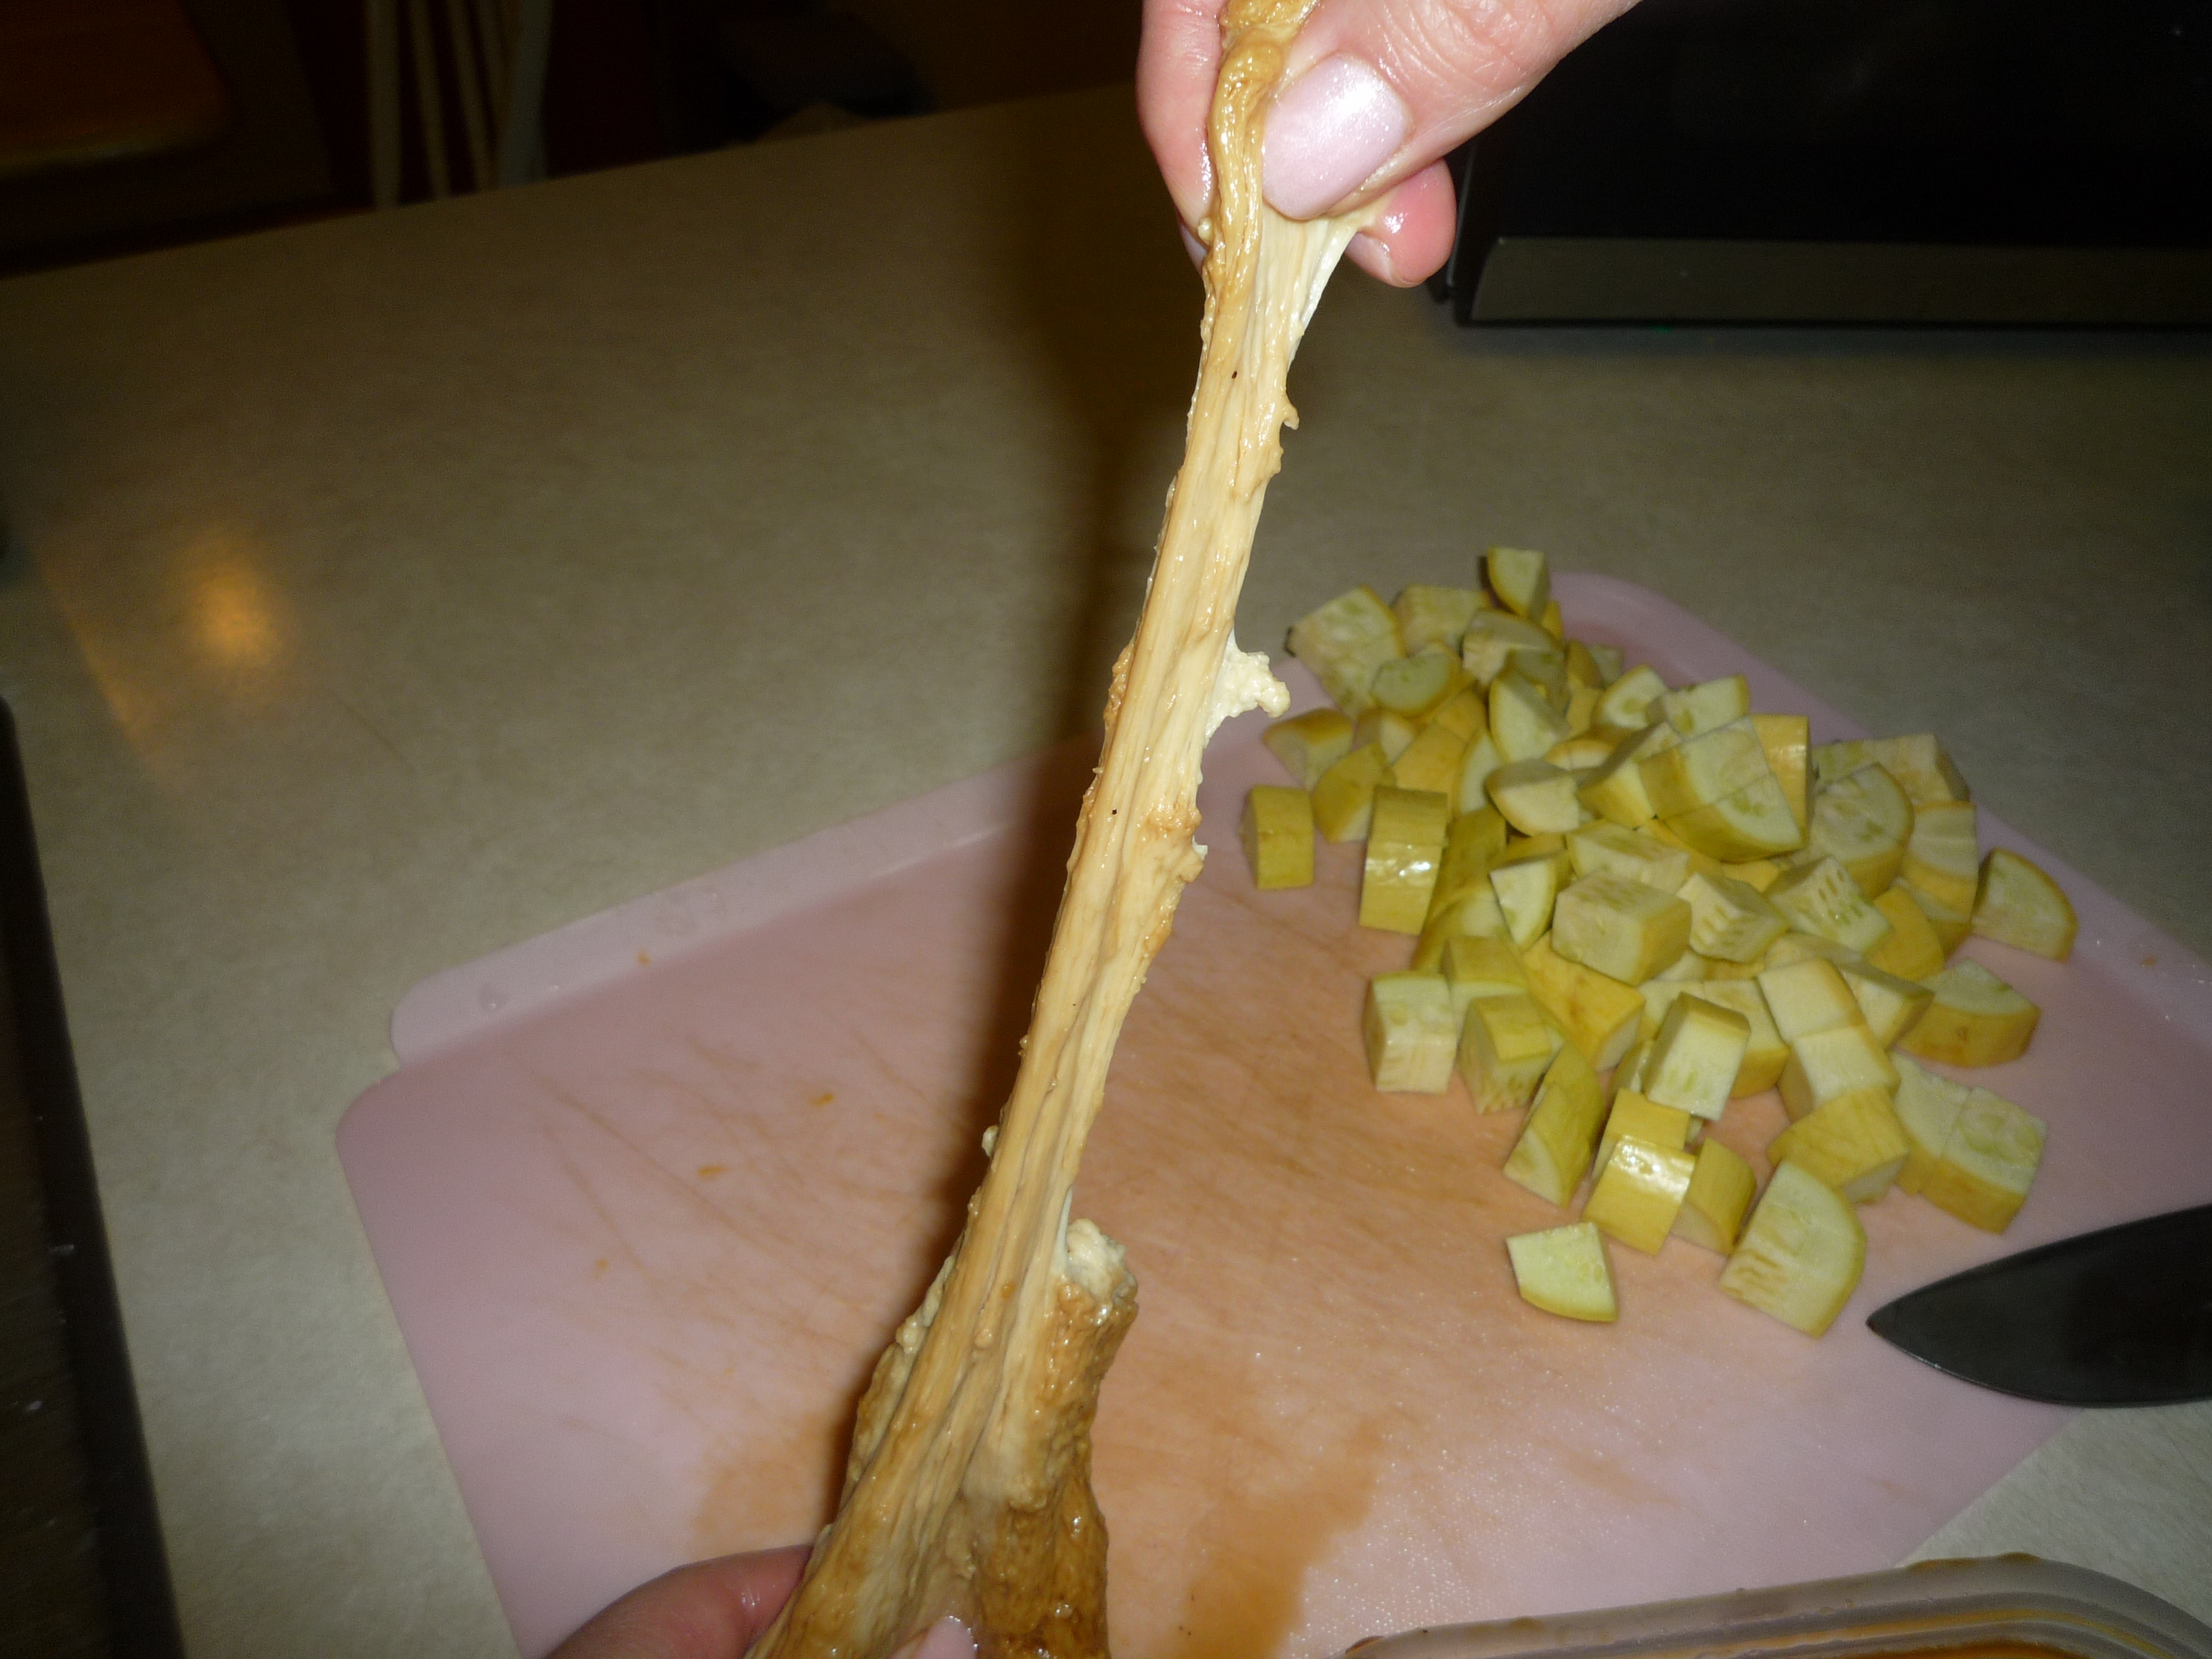
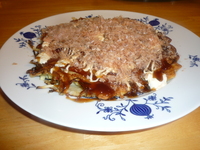
I'm posting the results of my first time making gluruten. I decided on making a stir fry with the guruten. The guruten absorbed the teriyaki marinade nicely and it was full of flavor, however the texture was more like mochi than mock meat. I'm not sure what went wrong except I noticed that it was a lot more elastic today than it was yesterday after I was done washing it. It might have been better to boil it and then marinate it. I'll have to try that next time. Of course the other option would be to cook it immediately after the washing process and add teriyaki sauce as I cook it.
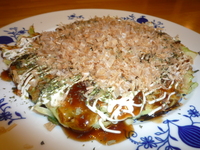
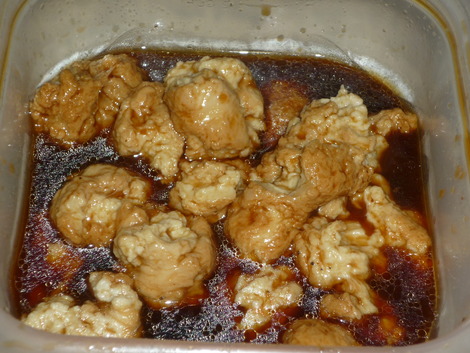
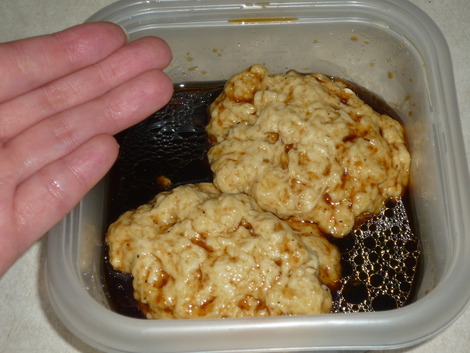
Here's the guruten after marinating for about 24 hours.
Compare to the day before.

I noticed that the guruten is a lot more elastic the next day.

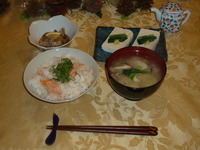
I pulled off bite size pieces with my hands to simulate meat pieces.
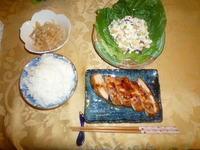
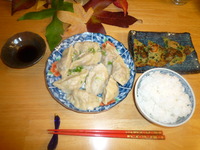
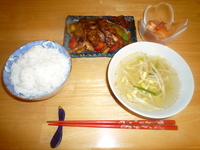
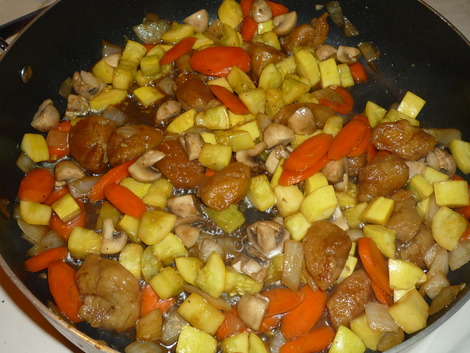
Sear the guruten in a hot non-stick pan to give them color. Pull the guruten out, add your favorite veggies and stir fry until the veggies are almost done. Add the guruten back in with teriyaki sauce to finish it off.
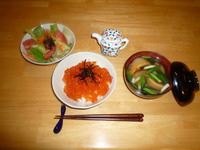
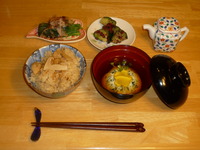
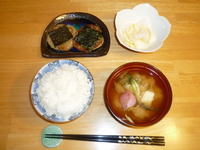
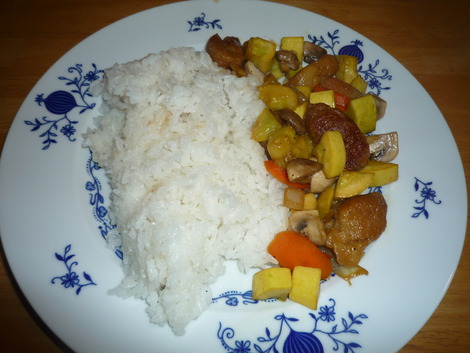
Serve with rice.
Monday, May 21st, 2012
I was going to post my great grandmother's ohagi (botamochi) recipe next but I got distracted by cup cakes and that was enough sweet stuff this weekend. I wasn't planning on writing about guruten today but I forgot to pick up tofu at the grocery store and I didn't want to drag myself back to the store. I try to make a few vegetarian meals a week so I wanted a substitute for tofu and I decided I would try to make guruten. You would think that it's much faster to go back to the grocery store compared to the amount of planning and time it takes to make guruten but I was excited to try something new and I wasn't going to eat it tonight.
I have memories of my mom making it for dinner and I remembered it being a long and arduous process but the last time I remembered her making it was when I was a kid so I wondered if time changed my perspective on guruten making. I looked up a recipe on a Japanese website and was pleasantly surprised to find that it was it wasn't as difficult as I remembered it. Yes, you have to let the dough rest for about an hour for the gluten to form and you have to wash it until the water is almost clear (I'm not sure if it ever gets clear), but it's not difficult and the process is forgiving.
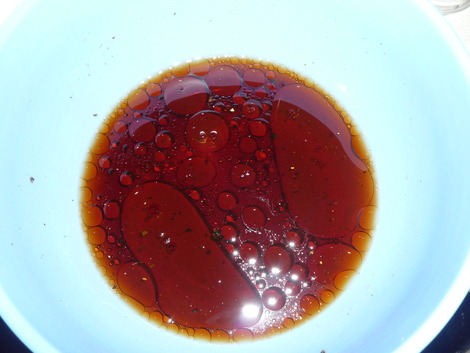
My grandmother buys canned and marinated guruten from a vegetarian vedor that she buys tons of veggie stuff from so I decided to infuse some flavor in it by marinating it over night in a basic teriyaki sauce of soy sauce, mirin, sake, sesame seed oil, sugar, black pepper, garlic and ginger. See my
teriyaki chicken recipe for marinade.
500 grams of flour (approximately 1lb) only yields a little bit of guruten. I'm marinating it to eat the next day.
I feel a little rebellious making gluten with the gluten free craze going on right now but if you don't have gluten allergies then it's a great vegetarian source of protein. I'm planning on cooking up this guruten tomorrow and see how it goes.
To see results, see
Guruten (Gluten) Stir Fry.
Friday, May 11th, 2012
I know...I know it's been a year since I posted. How lame is that? I could run the gauntlet with excuses but why bother? I even neglected it for so long that I didn't realize my blog went offline for a month due to some technical issues. Excuses aside, I'm just going to jump back in. I decided to bring my blog back with something that I know not too many people know about. Mizuame is a unique ingredient because of it's subtle sweetness and smooth texture. It's also an ingredient that's near and dear to my heart so I'm bringin' it back with Mizuame!
Mizuame is a thick syrup-like sweetener made from barley and other starches which is converted into sugar. When I think of mizuame, I'm reminded of my childhood and my grandfather. When I was a kid my mom would dip the ends of two chopsticks into a jar of mizuame and hand them to me with a gooey glob of mizuame on the ends. From there I would take over and spin the tips of the chopsticks around eachother over and over until the mizuame became frothy in texture. The excitment and joy of eating mizuame on a stick was so much better than anything else on a stick (ice cream and lolliepops included) because not only was it melt in your mouth delicious, I worked hard for it.
It's been a while since I had mizuame like that. Maybe kids are the only ones that eat mizuame like that, however there are other uses for mizuame. It can be used in place of sugar in sweets to make them thick and shiny.
I'm also reminded of my grandfather who was sent to protect the Japanese Imperial Palace during the war. The Imperial Palace was never attacked, however many of the stores and homes near the palace were bombed. On his way home he found cans of mizuame (apparently they were in cans back then) in the rubble of one store and brought them home to my grandmother to use as a sweetener. To this day, my grandmother is the only person I know who uses mizuame.
Mizuame in Action
This YouTube Video shows a kid going to town with her large glob of mizuame. Man, my mom never gave me that much.
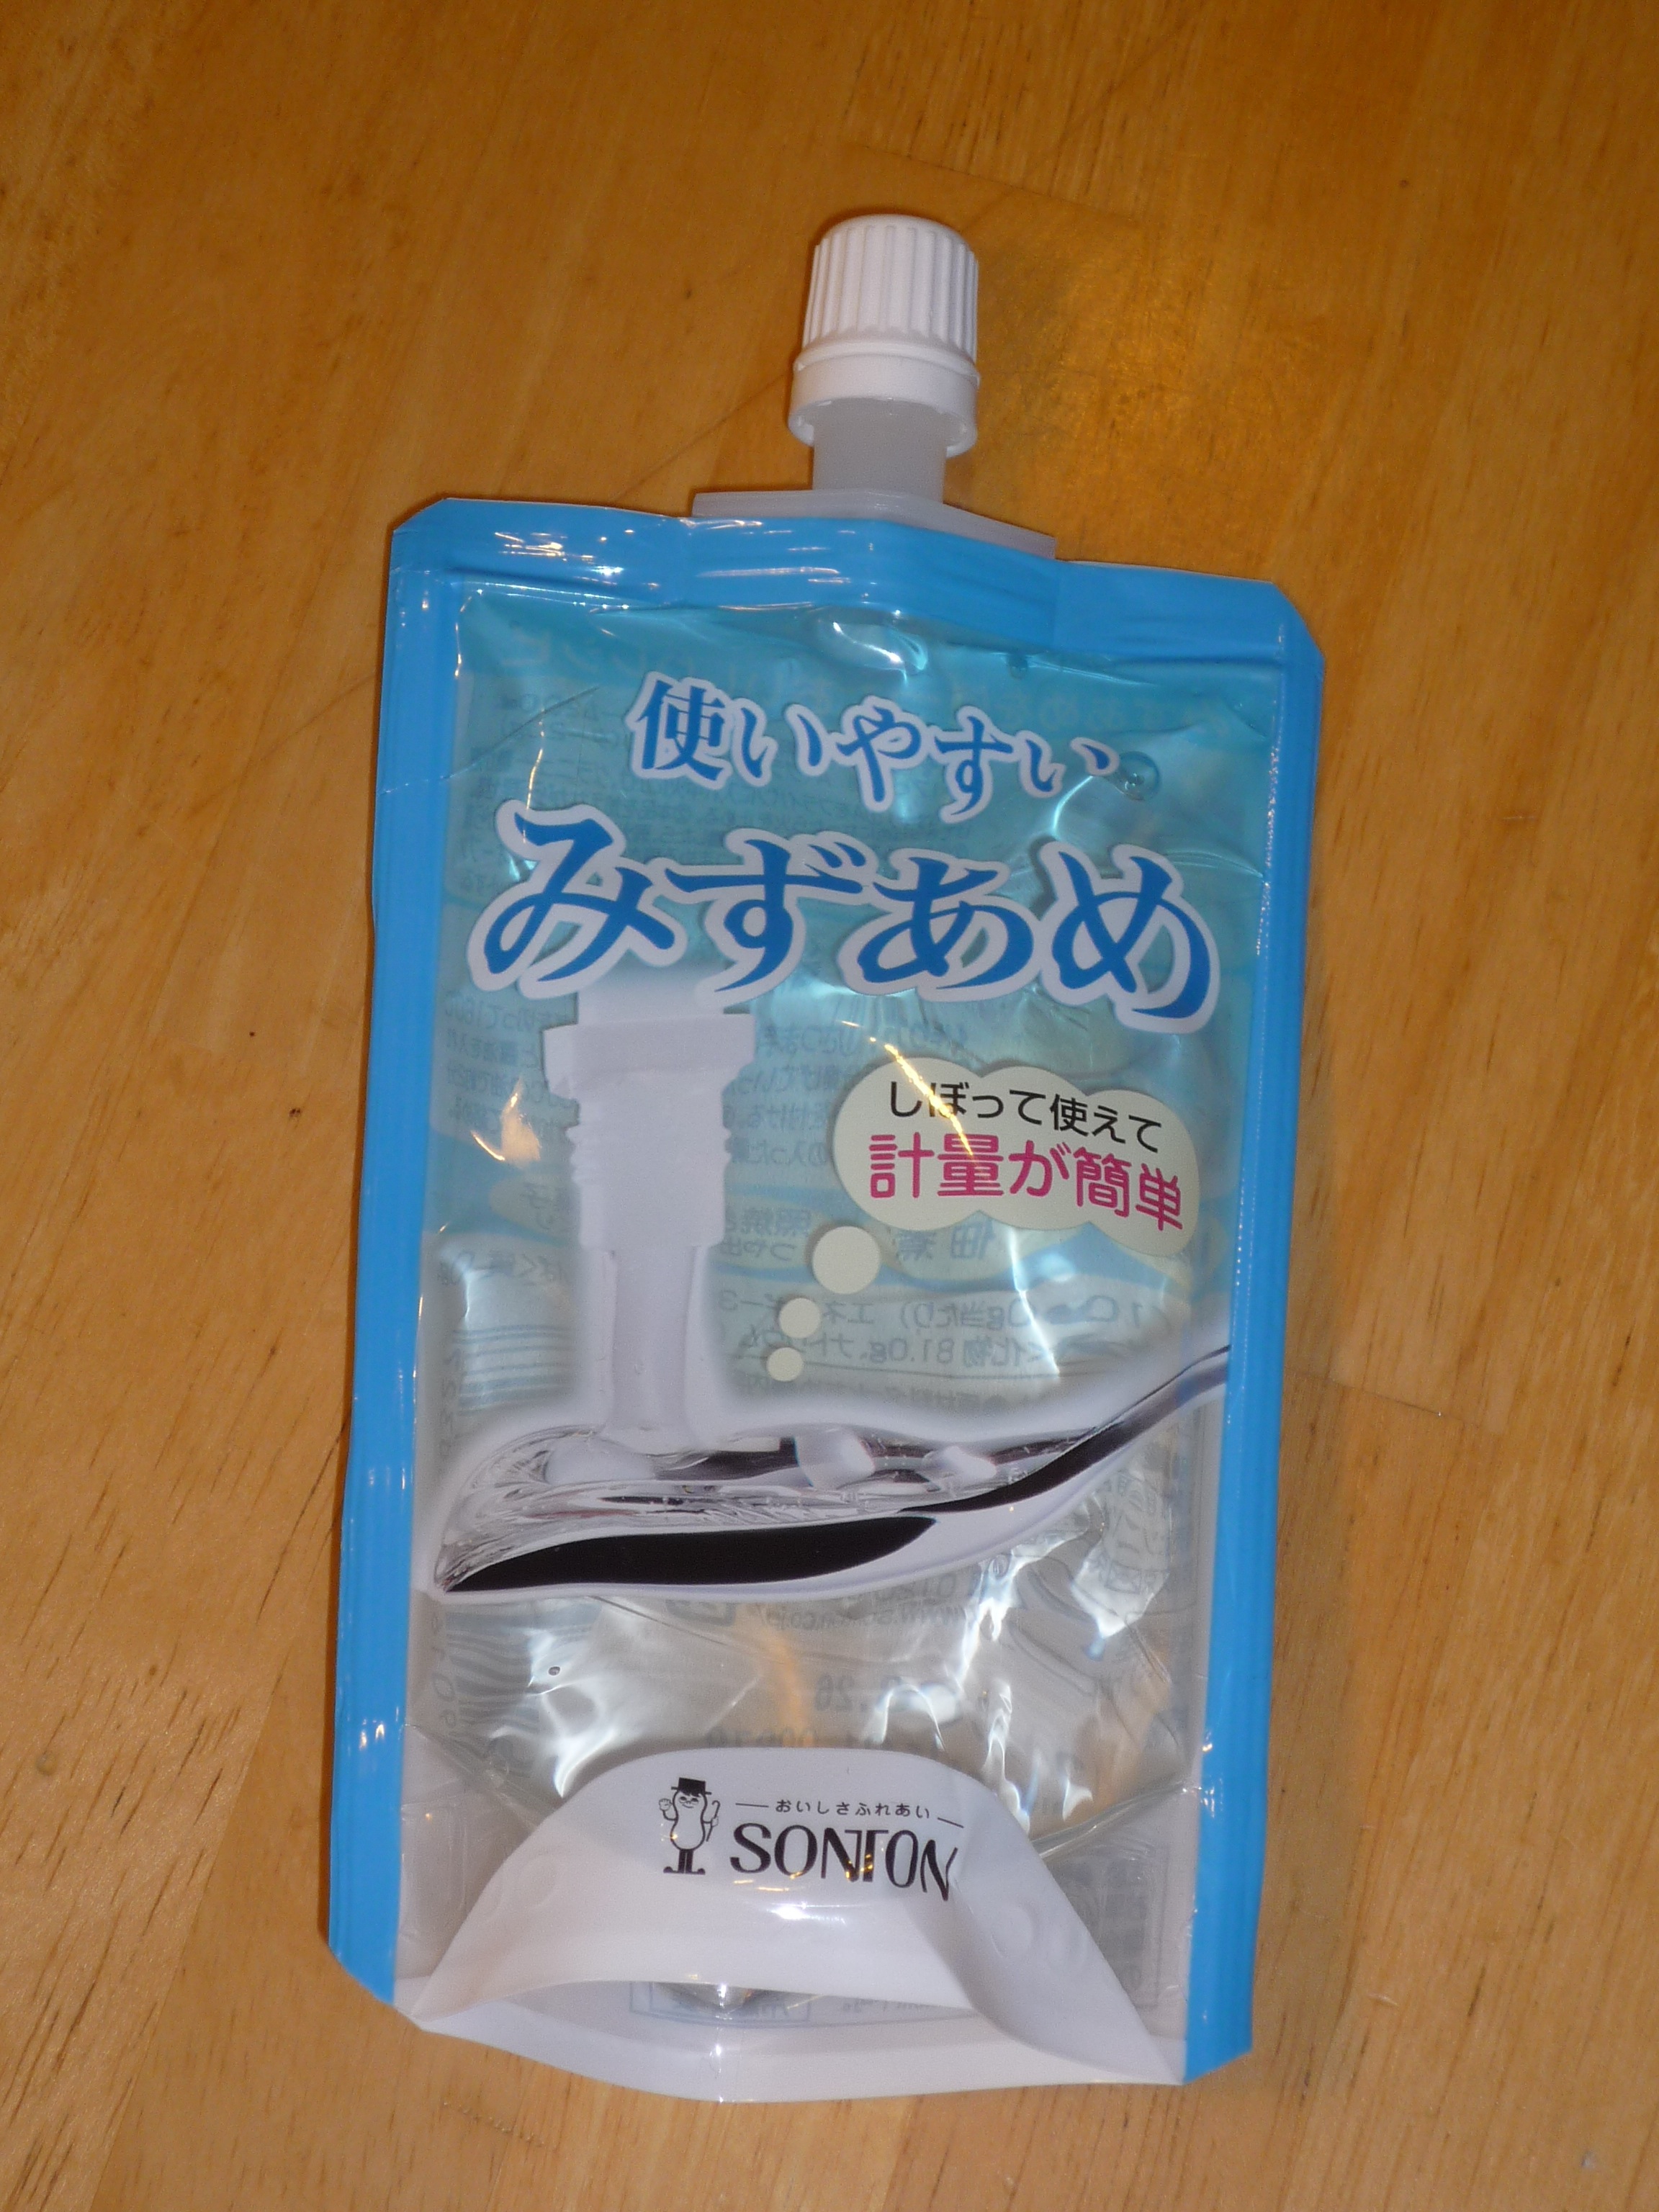
I decided to search for mizuame at my local Japanese grocery store and was pleasantly surprised to find a variety of different types. There was a higher grade mizuame in a jar and this smaller, more practical mizuame in a tube.
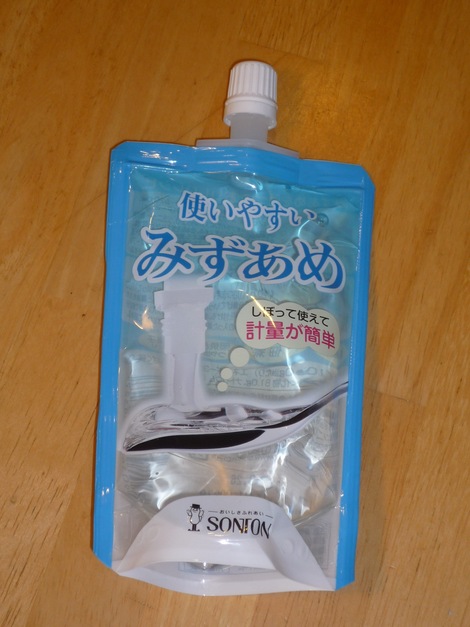
I'll be using this mizuame in a dessert this weekend so stay tuned.
Friday, April 15th, 2011
Long time no write.
I've been having stomach issues for about two months after an unfortunate incident with a hot dog (never eating those again). I've been living off of mochi and pureed vegetable soup so I haven't been very adventurous with my cooking lately. I also decided that I was going to participate in Lent by giving up chicken, pork, beef and other land roving animals. And just as my stomach was recovering and I was feeling a burning itch to post something, I got sick with chicken pox! No pun intended. In case anyone was wondering, this is why I've been absent for two months.
Naturally, I've been thinking about foods easier on digestion. Japanese food, at least authentic Japanese food, is usually digestive friendly so for the mean time I'll be posting tummy happy recipes. I haven't given up fish because how could I give up tasty and delicious dashi (fish stock). It must an innate Japanese need to leave fish in my diet.
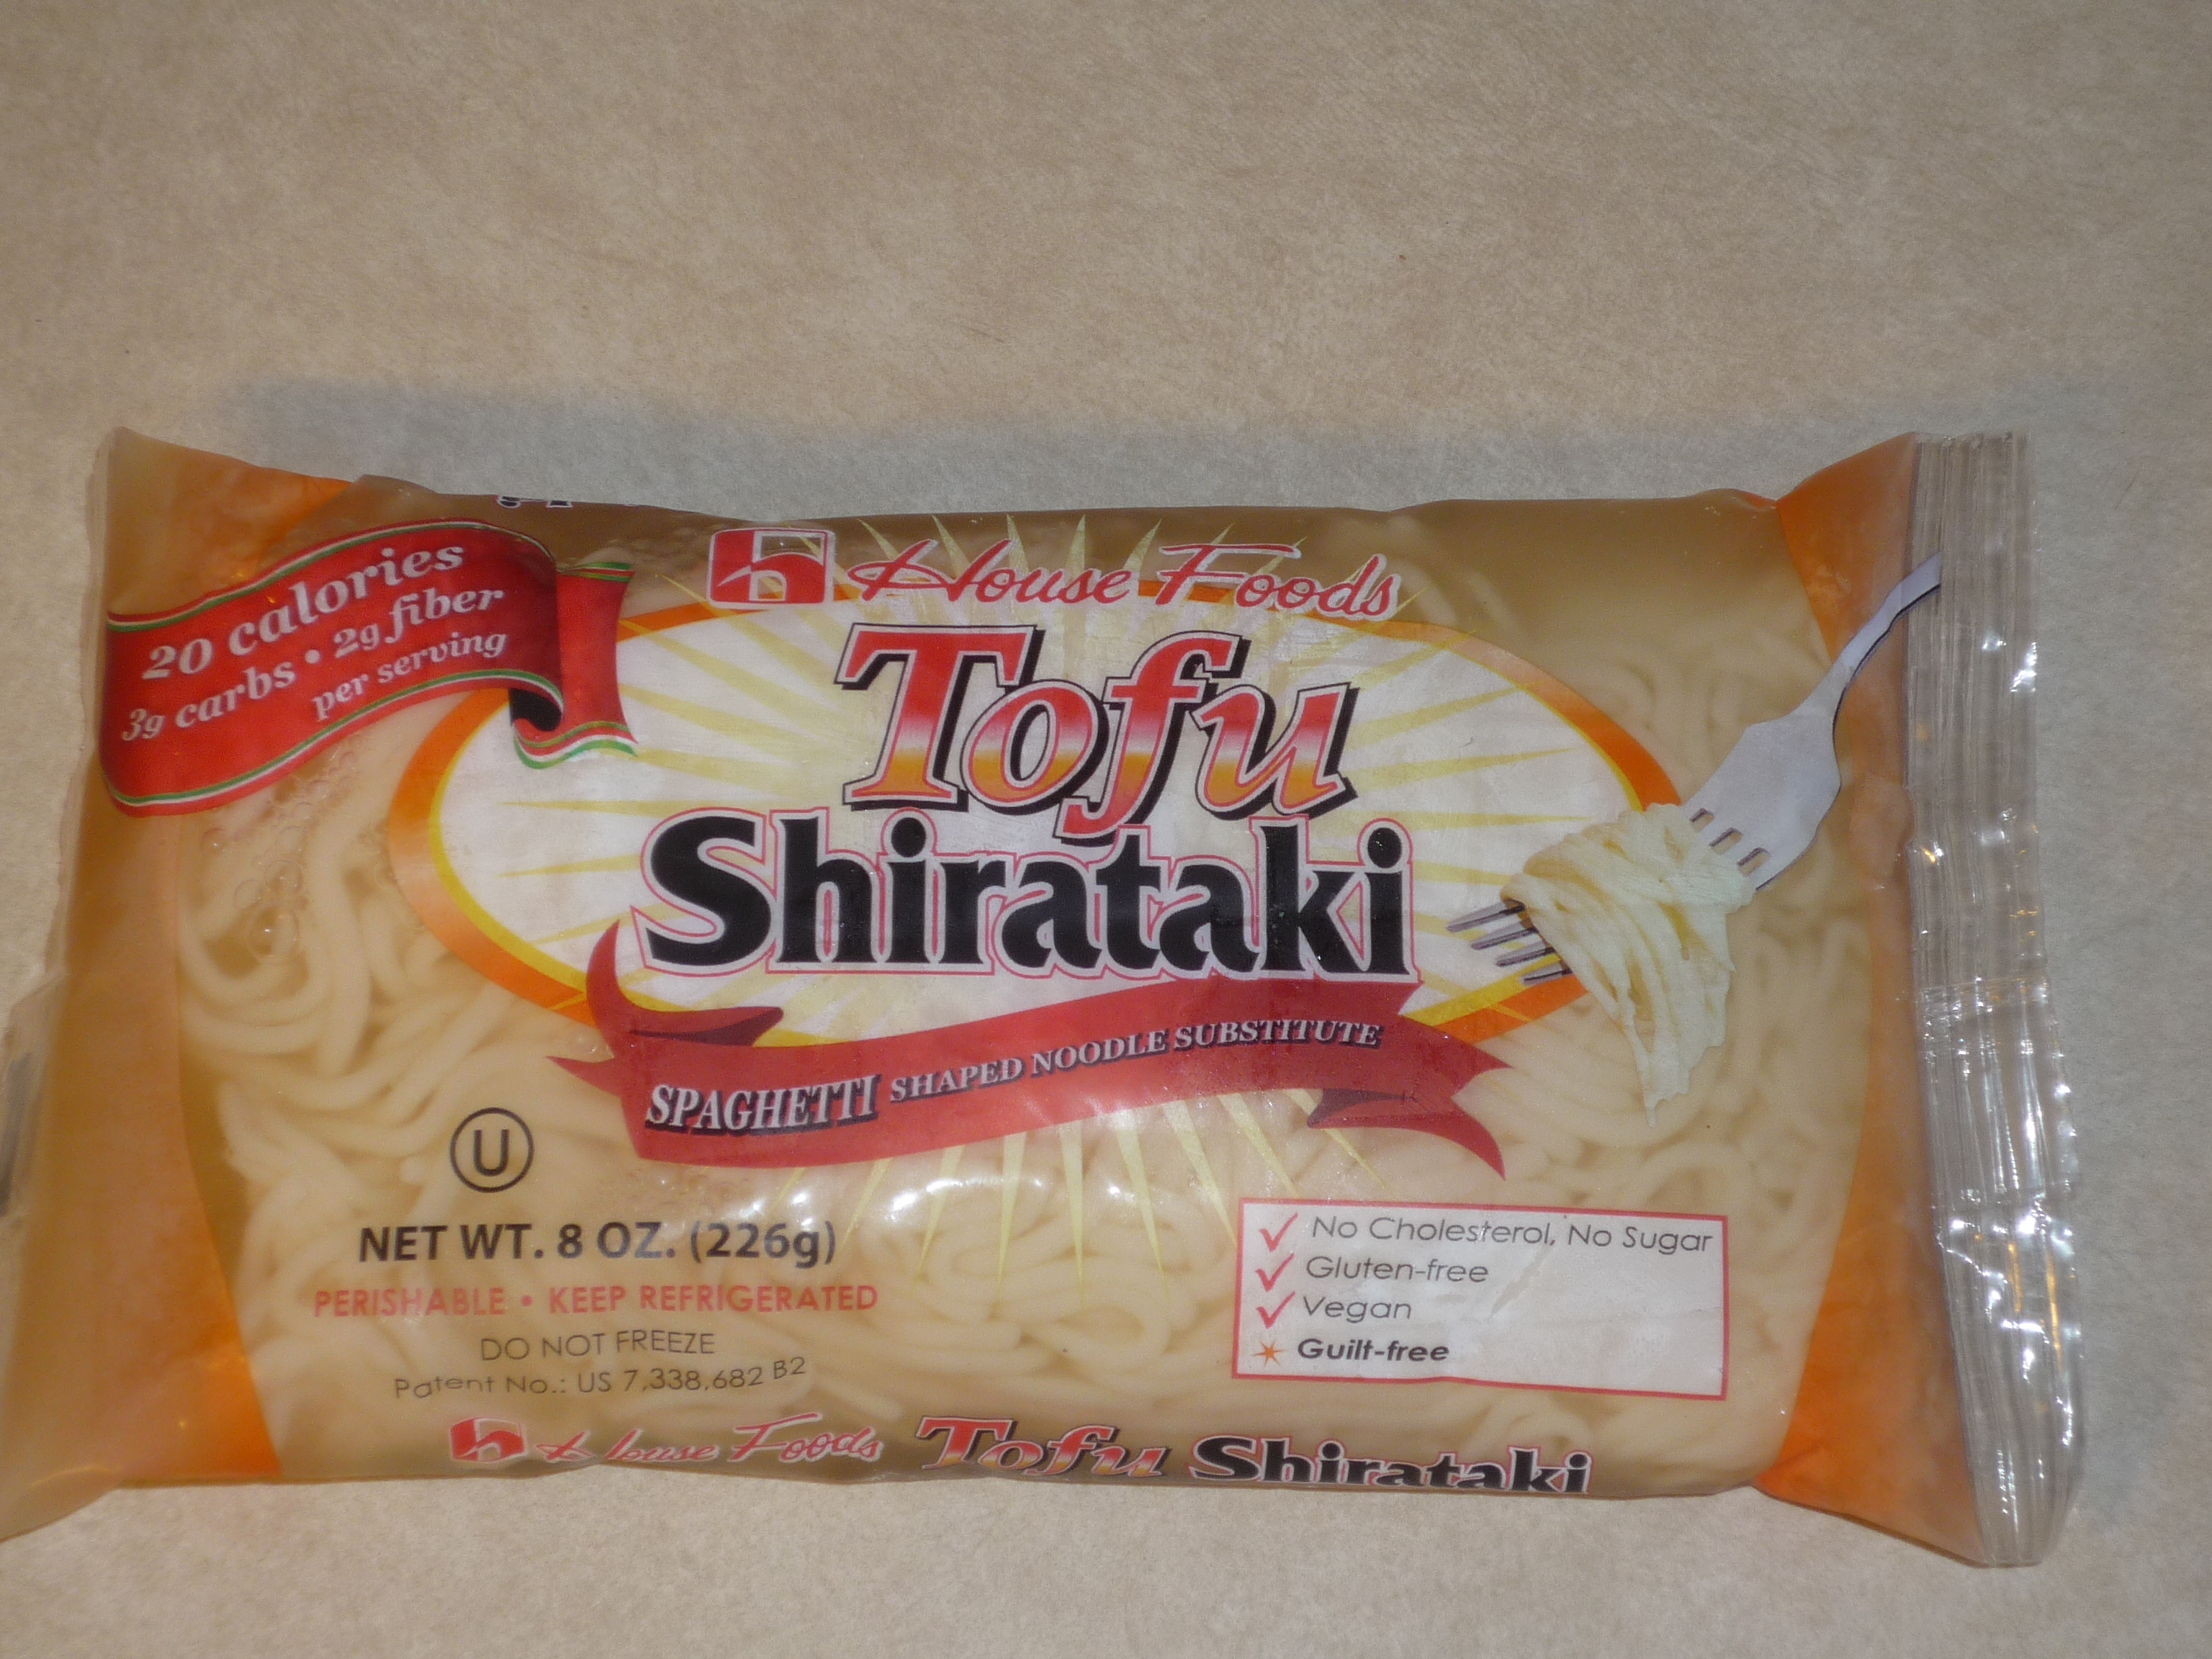
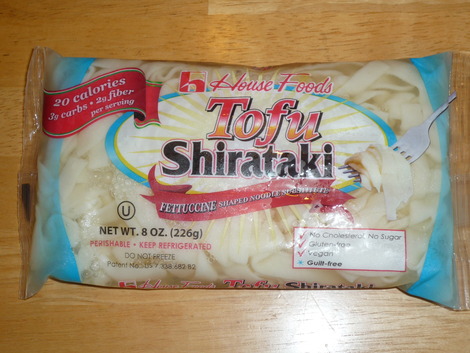
I found tofu "spaghetti" shirataki (see
shirataki) at a Japanese grocery store and thought they were interesting enough to share.
House Foods makes these noodles in "fettuccine" and "angle hair" also. My first thought was who thought of such a thing? Are Japanese companies trying to get American's to eat tofu by disgusing its shape and flavor? That's what it seemed like. In fact there is hardly any tofu flavor. It smells mostly like konnyaku so you could probably use it as a substitute for regular shirataki in traditional recipes such as sukiyaki or nabe but I thought a cold noodle salad would be even better. Mind you, the recipe on the back of the package called to use the tofu shirataki as a substitute for spaghetti and to eat it with tomato sauce. YUCK! I love spaghetti and tomato sauce but no matter how much it
looks like spaghetti, it's gonna taste like konnyaku and tomato sauce.
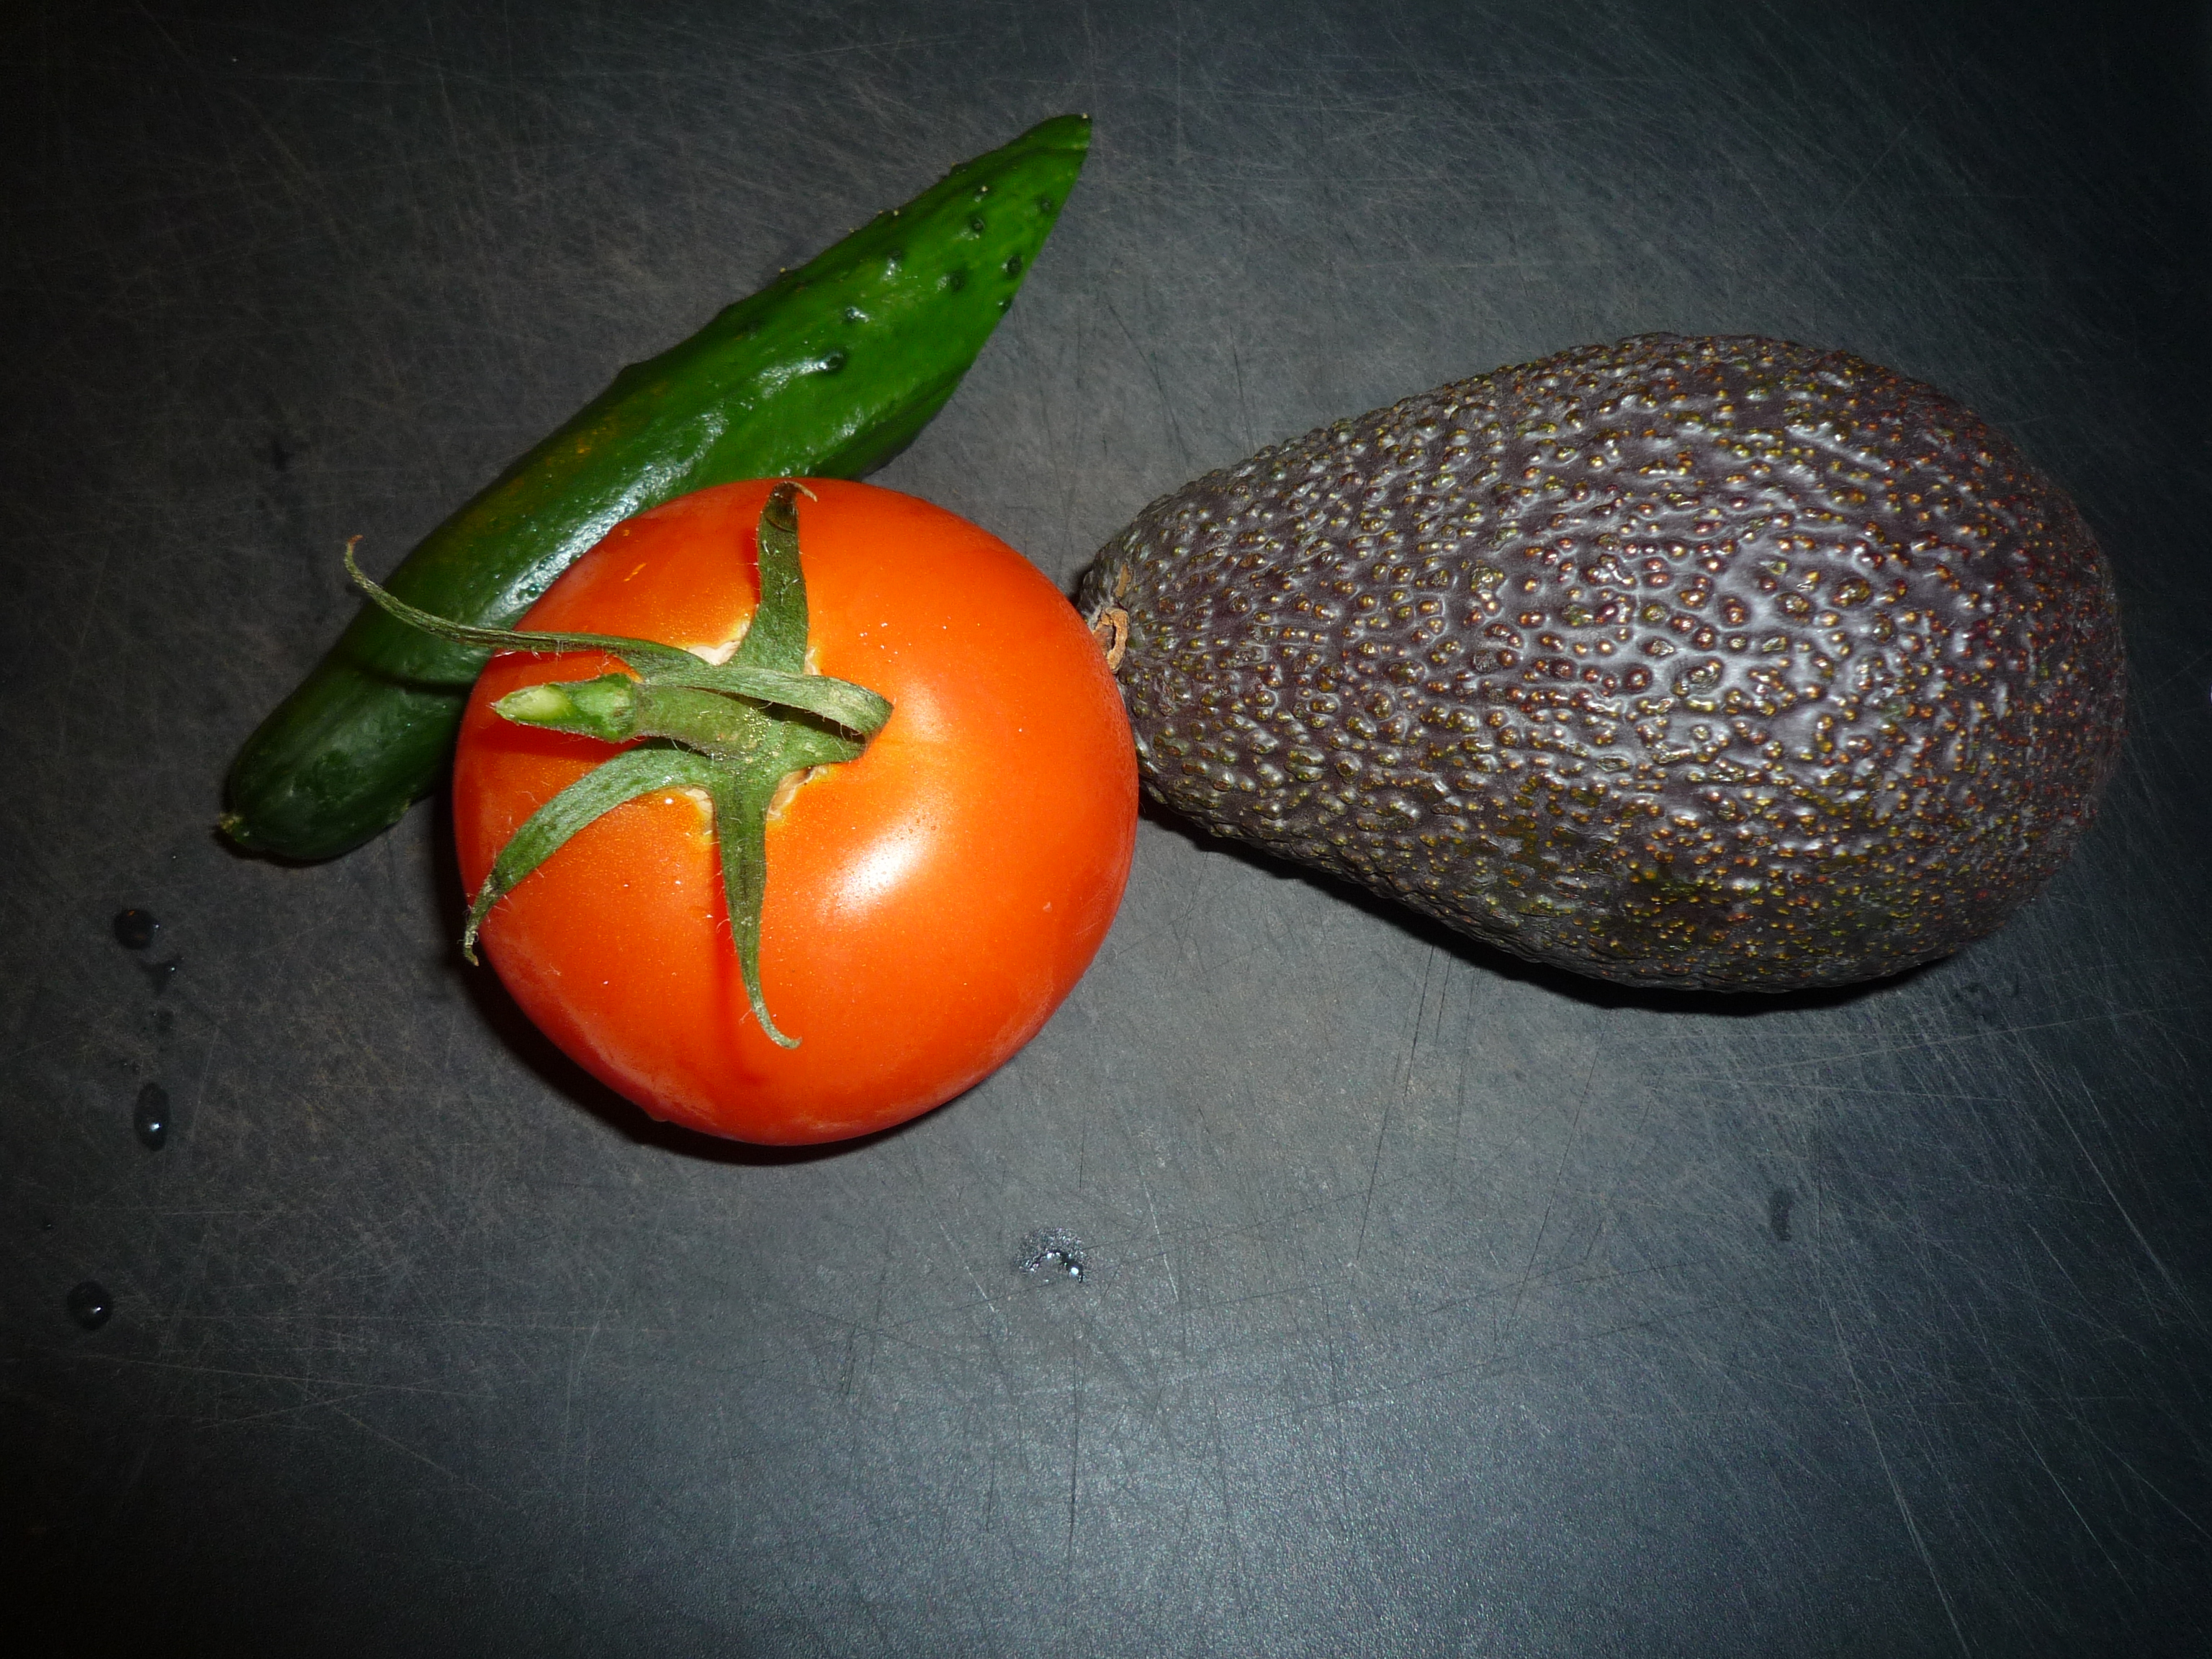
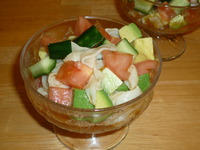
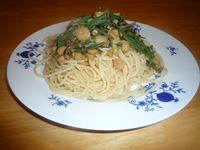
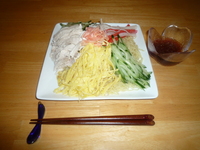
I decided on a cold noodle salad that was refreshing and a little summery. It's warming up here in California so vine ripe tomatoes and cucumbers are already making their way to the grocery store. Avocados are also a nice creamy addition to this salad. However, you can incorporate any of your favorite salad ingredients into this recipe.
Ingredients (Servings 2)
- 1 package of tofu shirataki
- 1/2 medium vine ripe tomato diced and peeled
- (Japanese cucumber)
- 1/4 large avocado
- 2 tbsp soy sauce
- 2.5 tbsp rice vinegar
- 1.5 tbsp sugar
- black pepper to taste
- 1/2 tbsp sesame seed oil
Directions
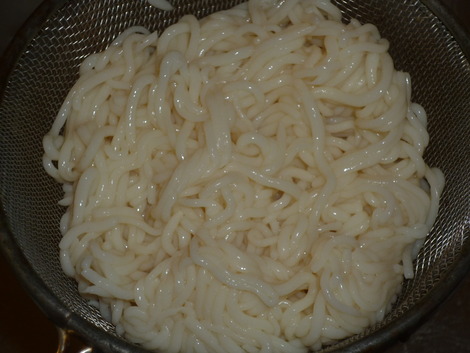
- Drain the tofu shirataki and squeeze water out. Allow water to drip out from a sieve for at least 20 minutes and press down periodically to press out water.
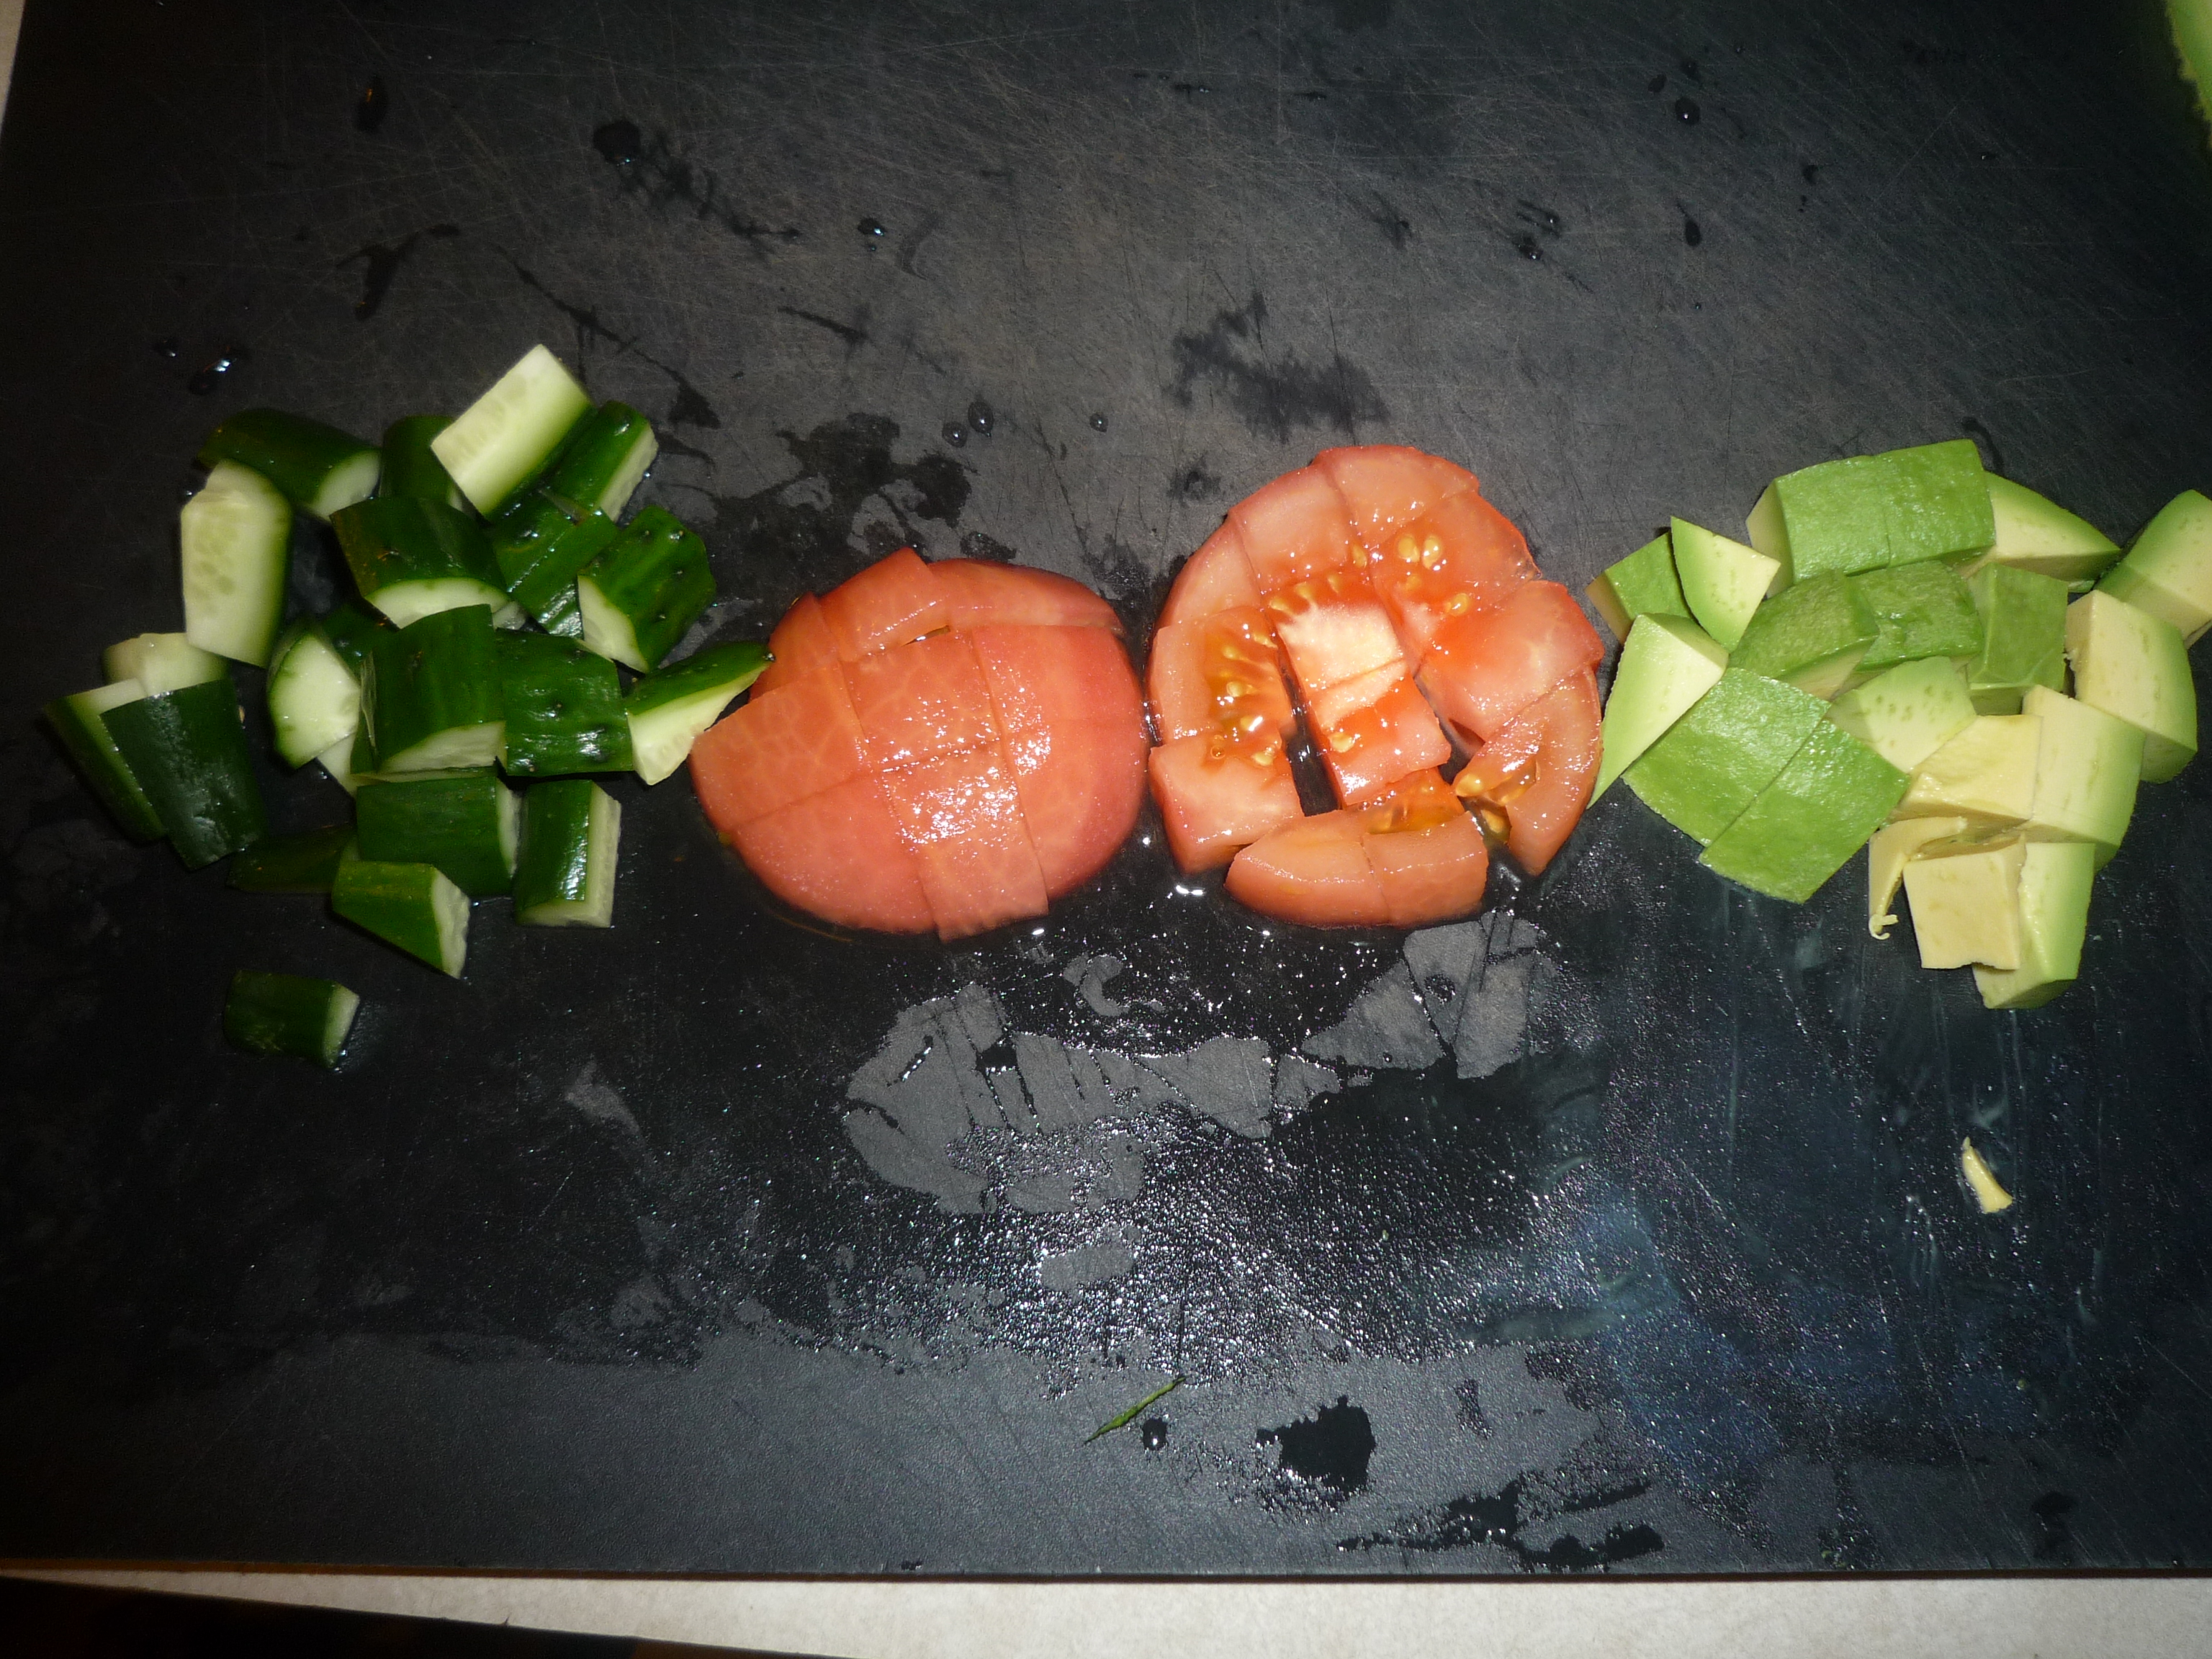
- Dice half a medium sized vine ripe tomato. Peel the skin off first. (Tip: this helps for picky people who claim to like tomatoes only some ways.)
- Dice the avocado into cubes the same size as the tomatoes
- Dice the cucumber also into cubes about the same size as the tomatoes and avocados.
- Mix the soy sauce, sugar, vinegar and black pepper until the sugar is dissolved. Then add the sesame seed oil. (The dressing will be strong because the shirataki will dilute a lot of the vingear.
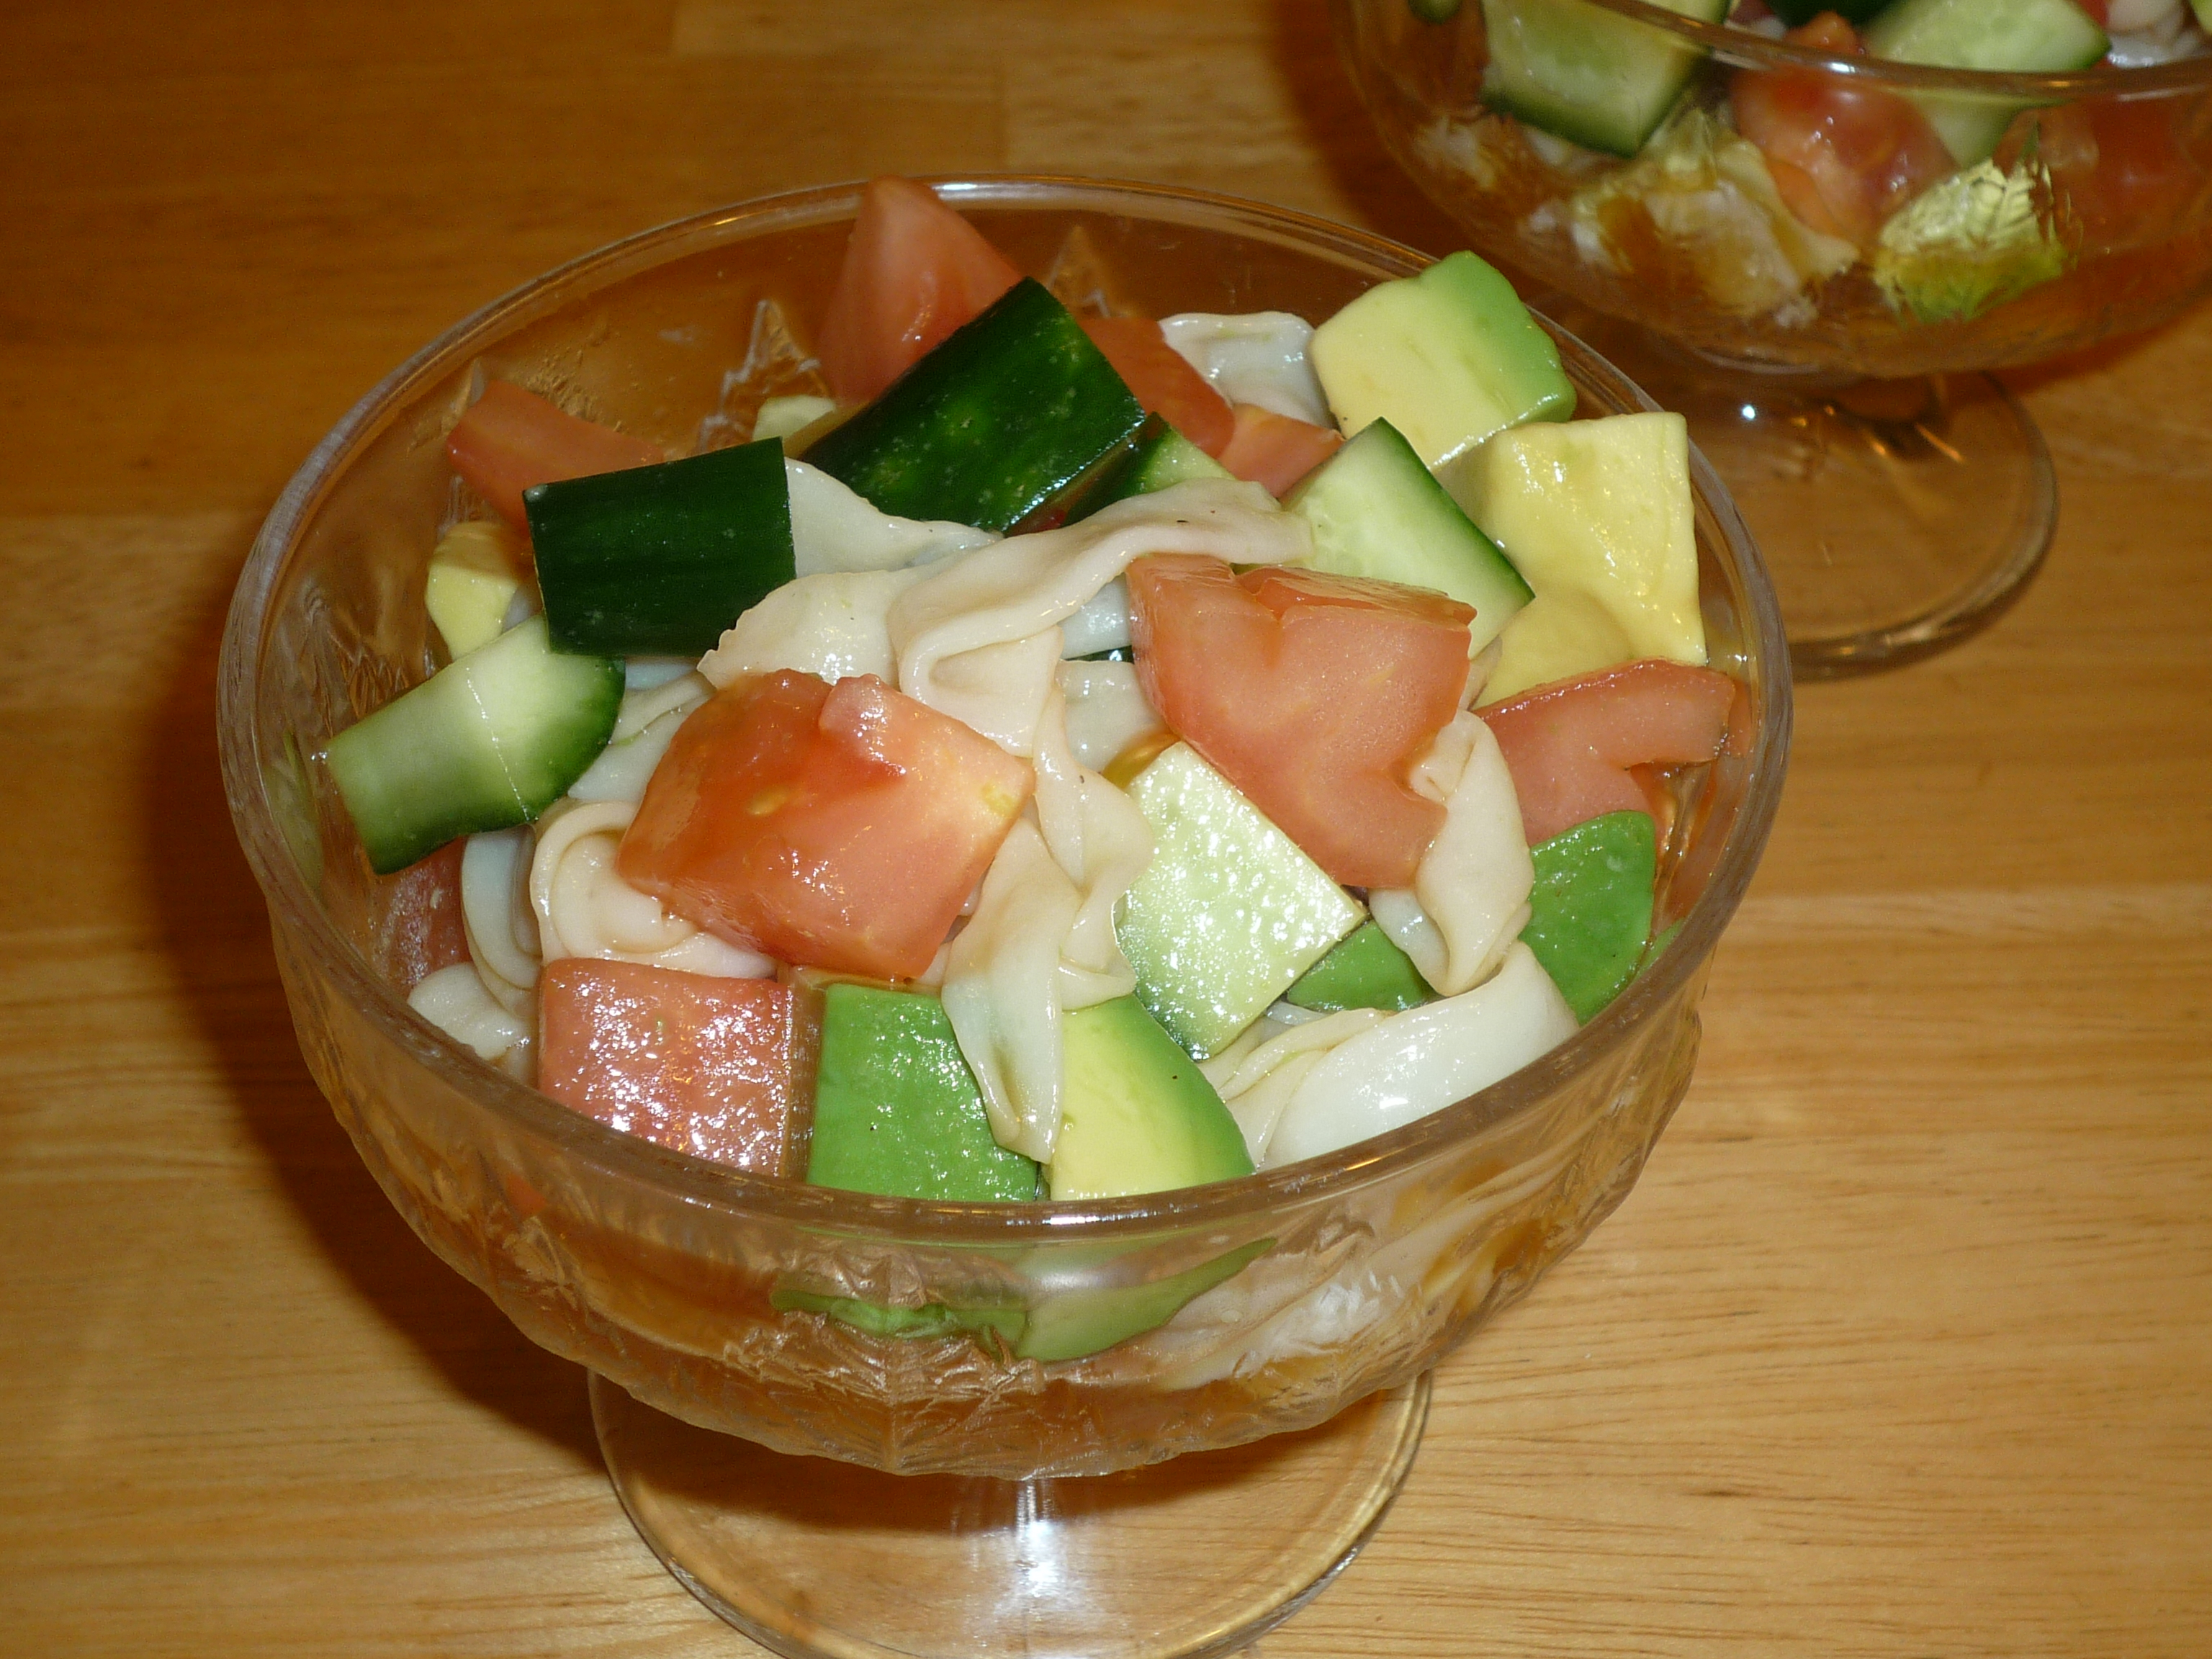
- Mix the shirataki, tomatoes, cucumber and avocados in a bowl and add the dressing to taste. (2 tbsps is plenty.)
- Serve immediately
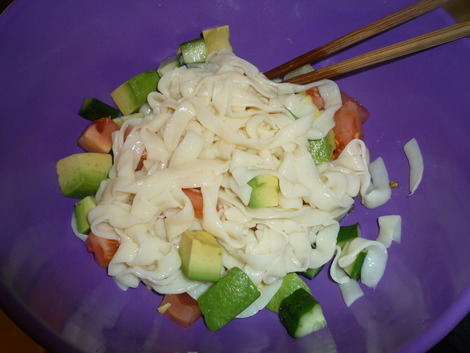
Tofu Shirataki "Fettuccine"
Tofu Shirataki "Spaghetti"

Tomatoes, avocados and cucumbers go great with this salad.

Drain the noodles. Make sure you squeeze out as much of the water as possible. Drain for at least 20 minutes and press water out with your hands periodically.
Cut up the ingredients into equal sized cubes.

Mix the soy sauce, sugar, pepper and vinegar until the sugar dissolves. Add the sesame seed oil. (The dressing is strong but will become diluted because of the tomatoes, cucumber and the shirataki)
Mix the ingredients in a bowl and then add the dressing to taste, about 2 tablespoons.
Serve the salad into a small bowl so that the dressing and juices don't run away on a plate. (Tofu Shirataki "Fettuccine")

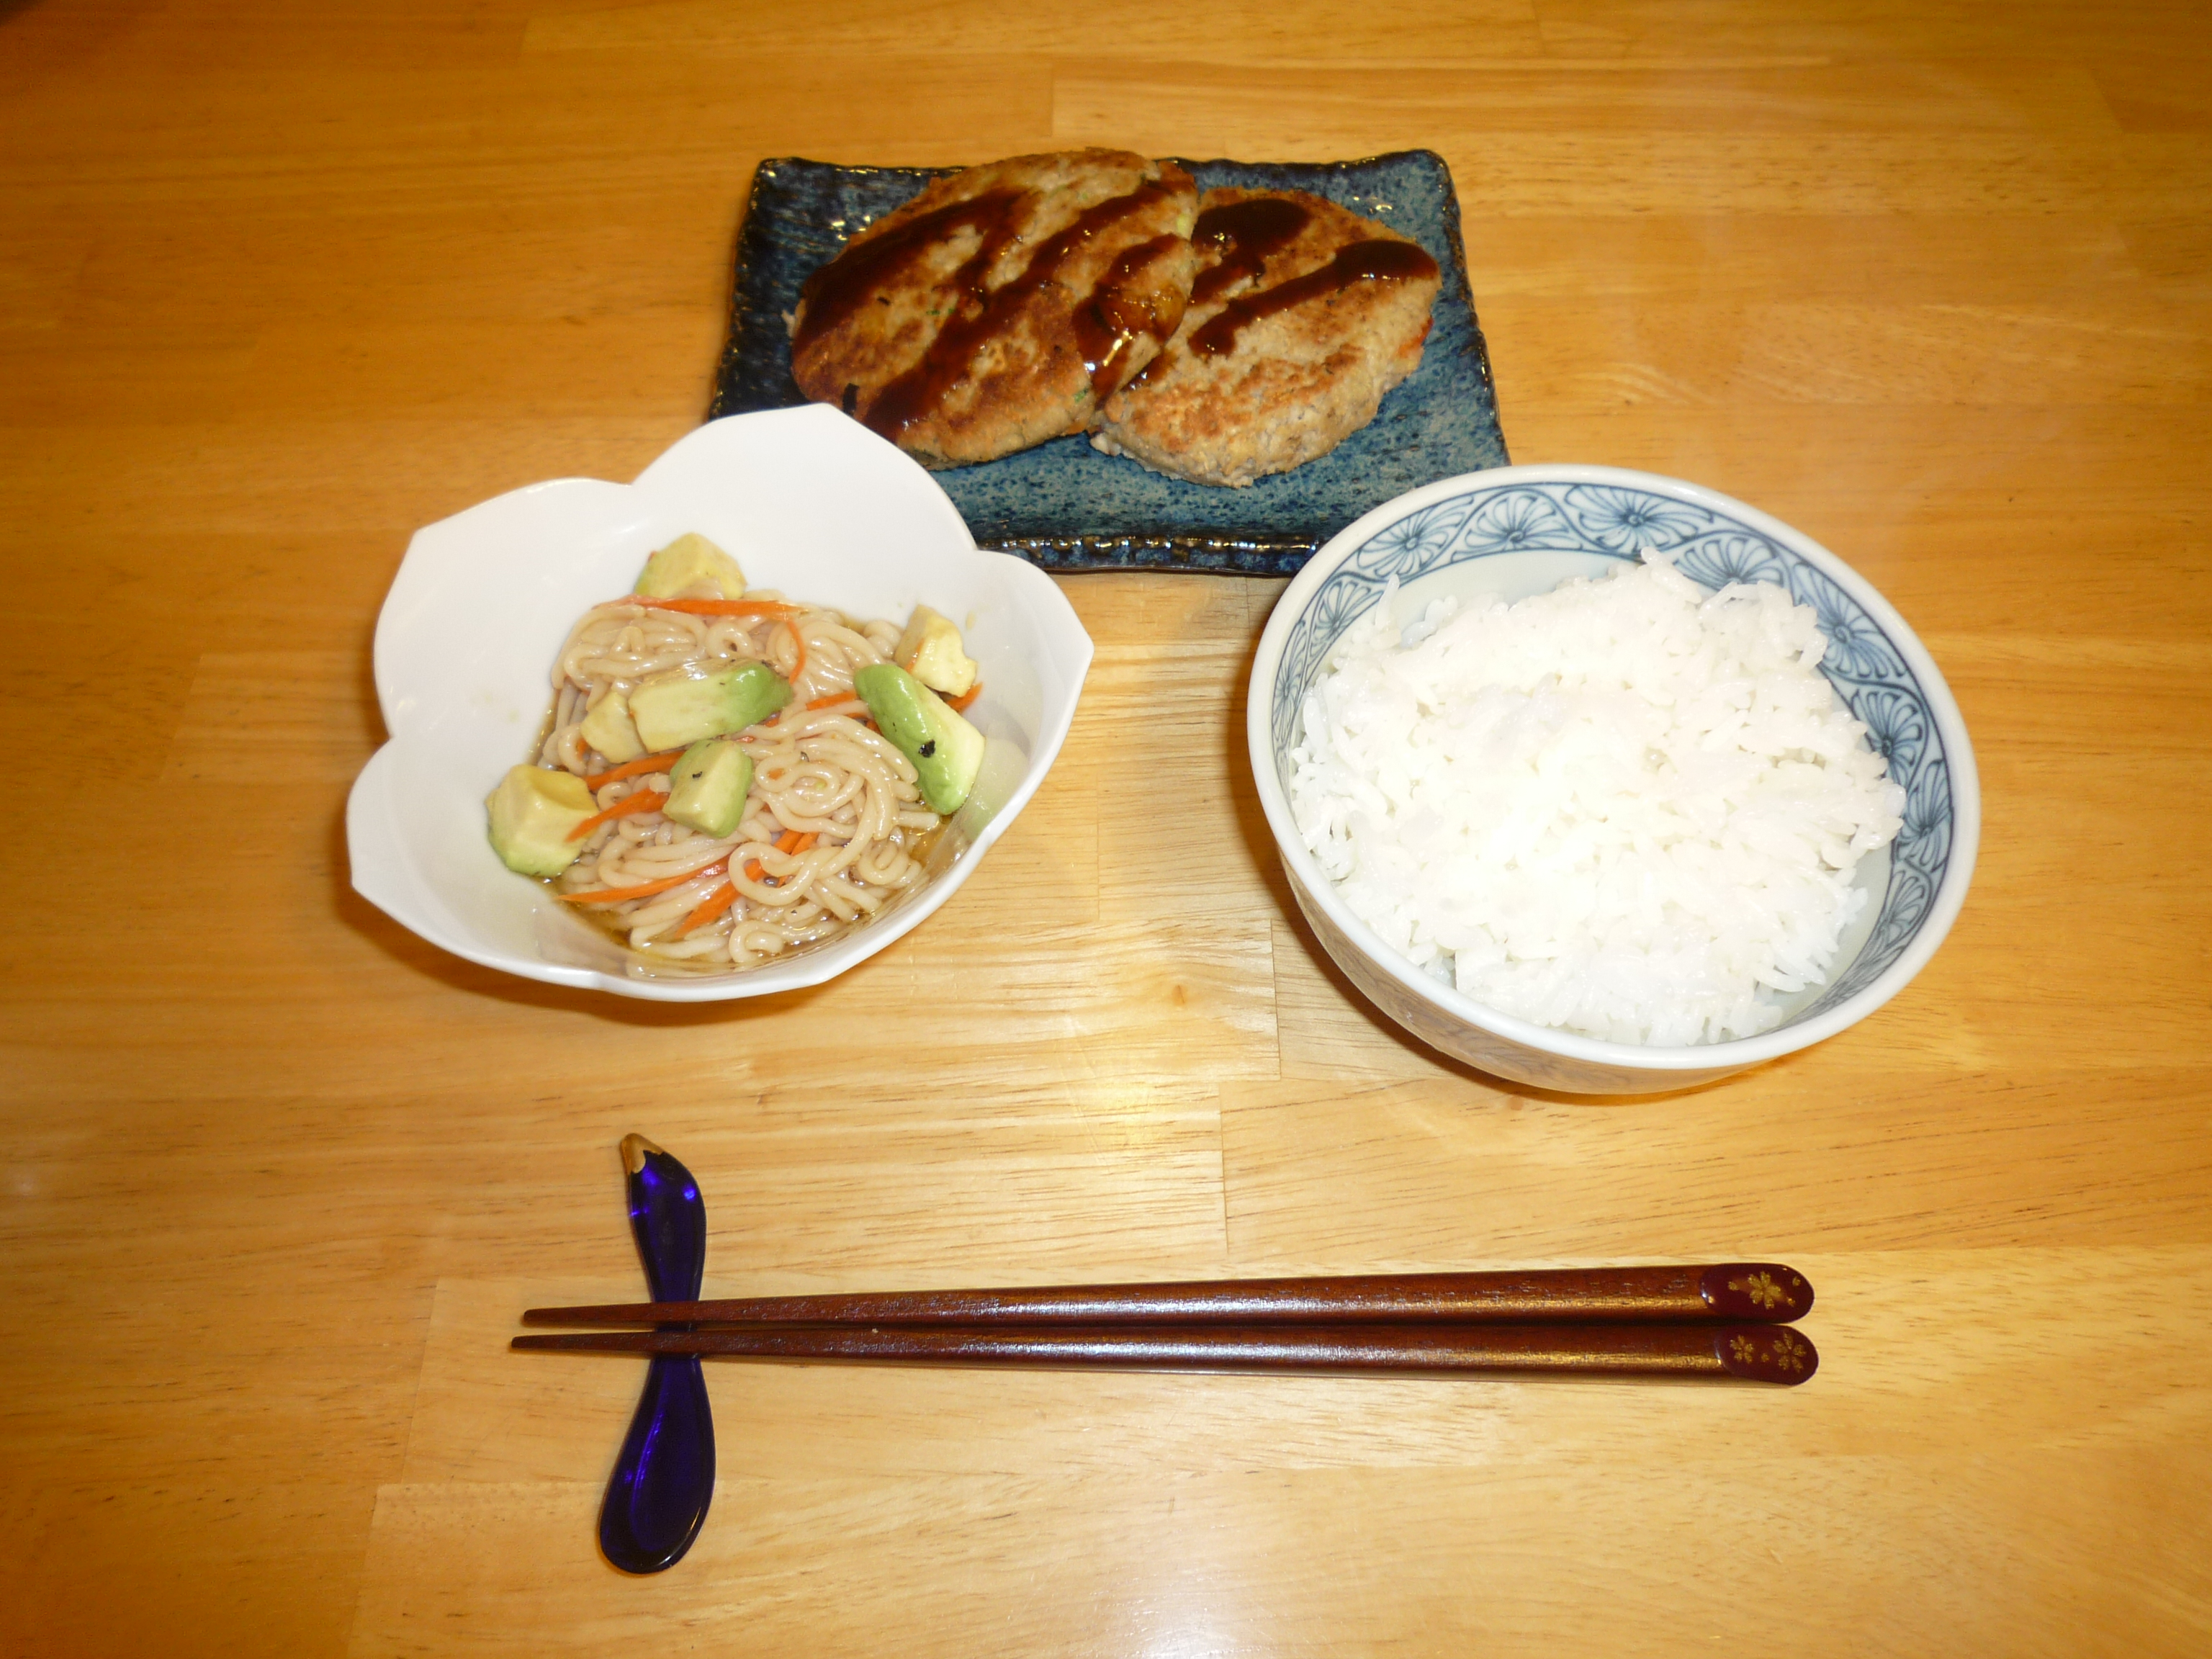
Tofu Shirataki "Spaghetti" variation with carrots.
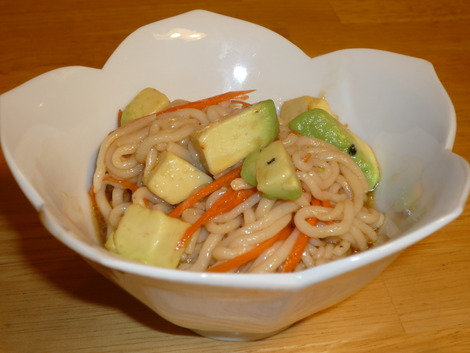
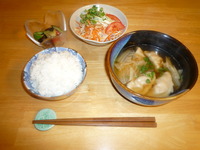
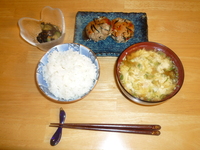
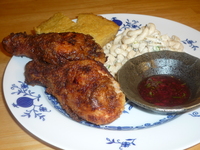
Pair salad with a protein and rice for a Japanese style meal.

Tuesday, February 15th, 2011
I wanted to post some sort of osechi (Japanese new year's fare) and mochi article for New Year's but I missed my opportunity. However, I've been eating a lot of mochi lately and started thinking about an easier way to make it. I figure eating mochi is a year round thing so I thought I would post my findings on easy mochi making. If you've ever made mochi from scratch it's an arduous process. First you have to soak the rice for 8-10 hours and then you have to steam it and then you have to pound it. Pounding it is another story because that requires a kine and usu (wooden stick and bowl) used to pound it. Who even has one of those? My parents have a mochitsukiki (mochi maker) which is great because it does all the steaming and pounding for you. All you have to do is soak it. The only problem is that they are expensive and I have enough gadgets in my house without getting another large one that only has one function.
I looked around online to see if there were any tips for making mochi using a rice cooker. I found out that I don't have to soak the rice for 8-10 hours when using a rice cooker that was a plus. This also meant that I don't have to plan as much when I want to make it. The difficult step was to pound the mochi without having a kine and usu or a mochitsukiki. Initially I put it in a bowl and mashed it up using two pestles. This took about 20-30 minutes and it was difficult to get it to a smooth consistency.
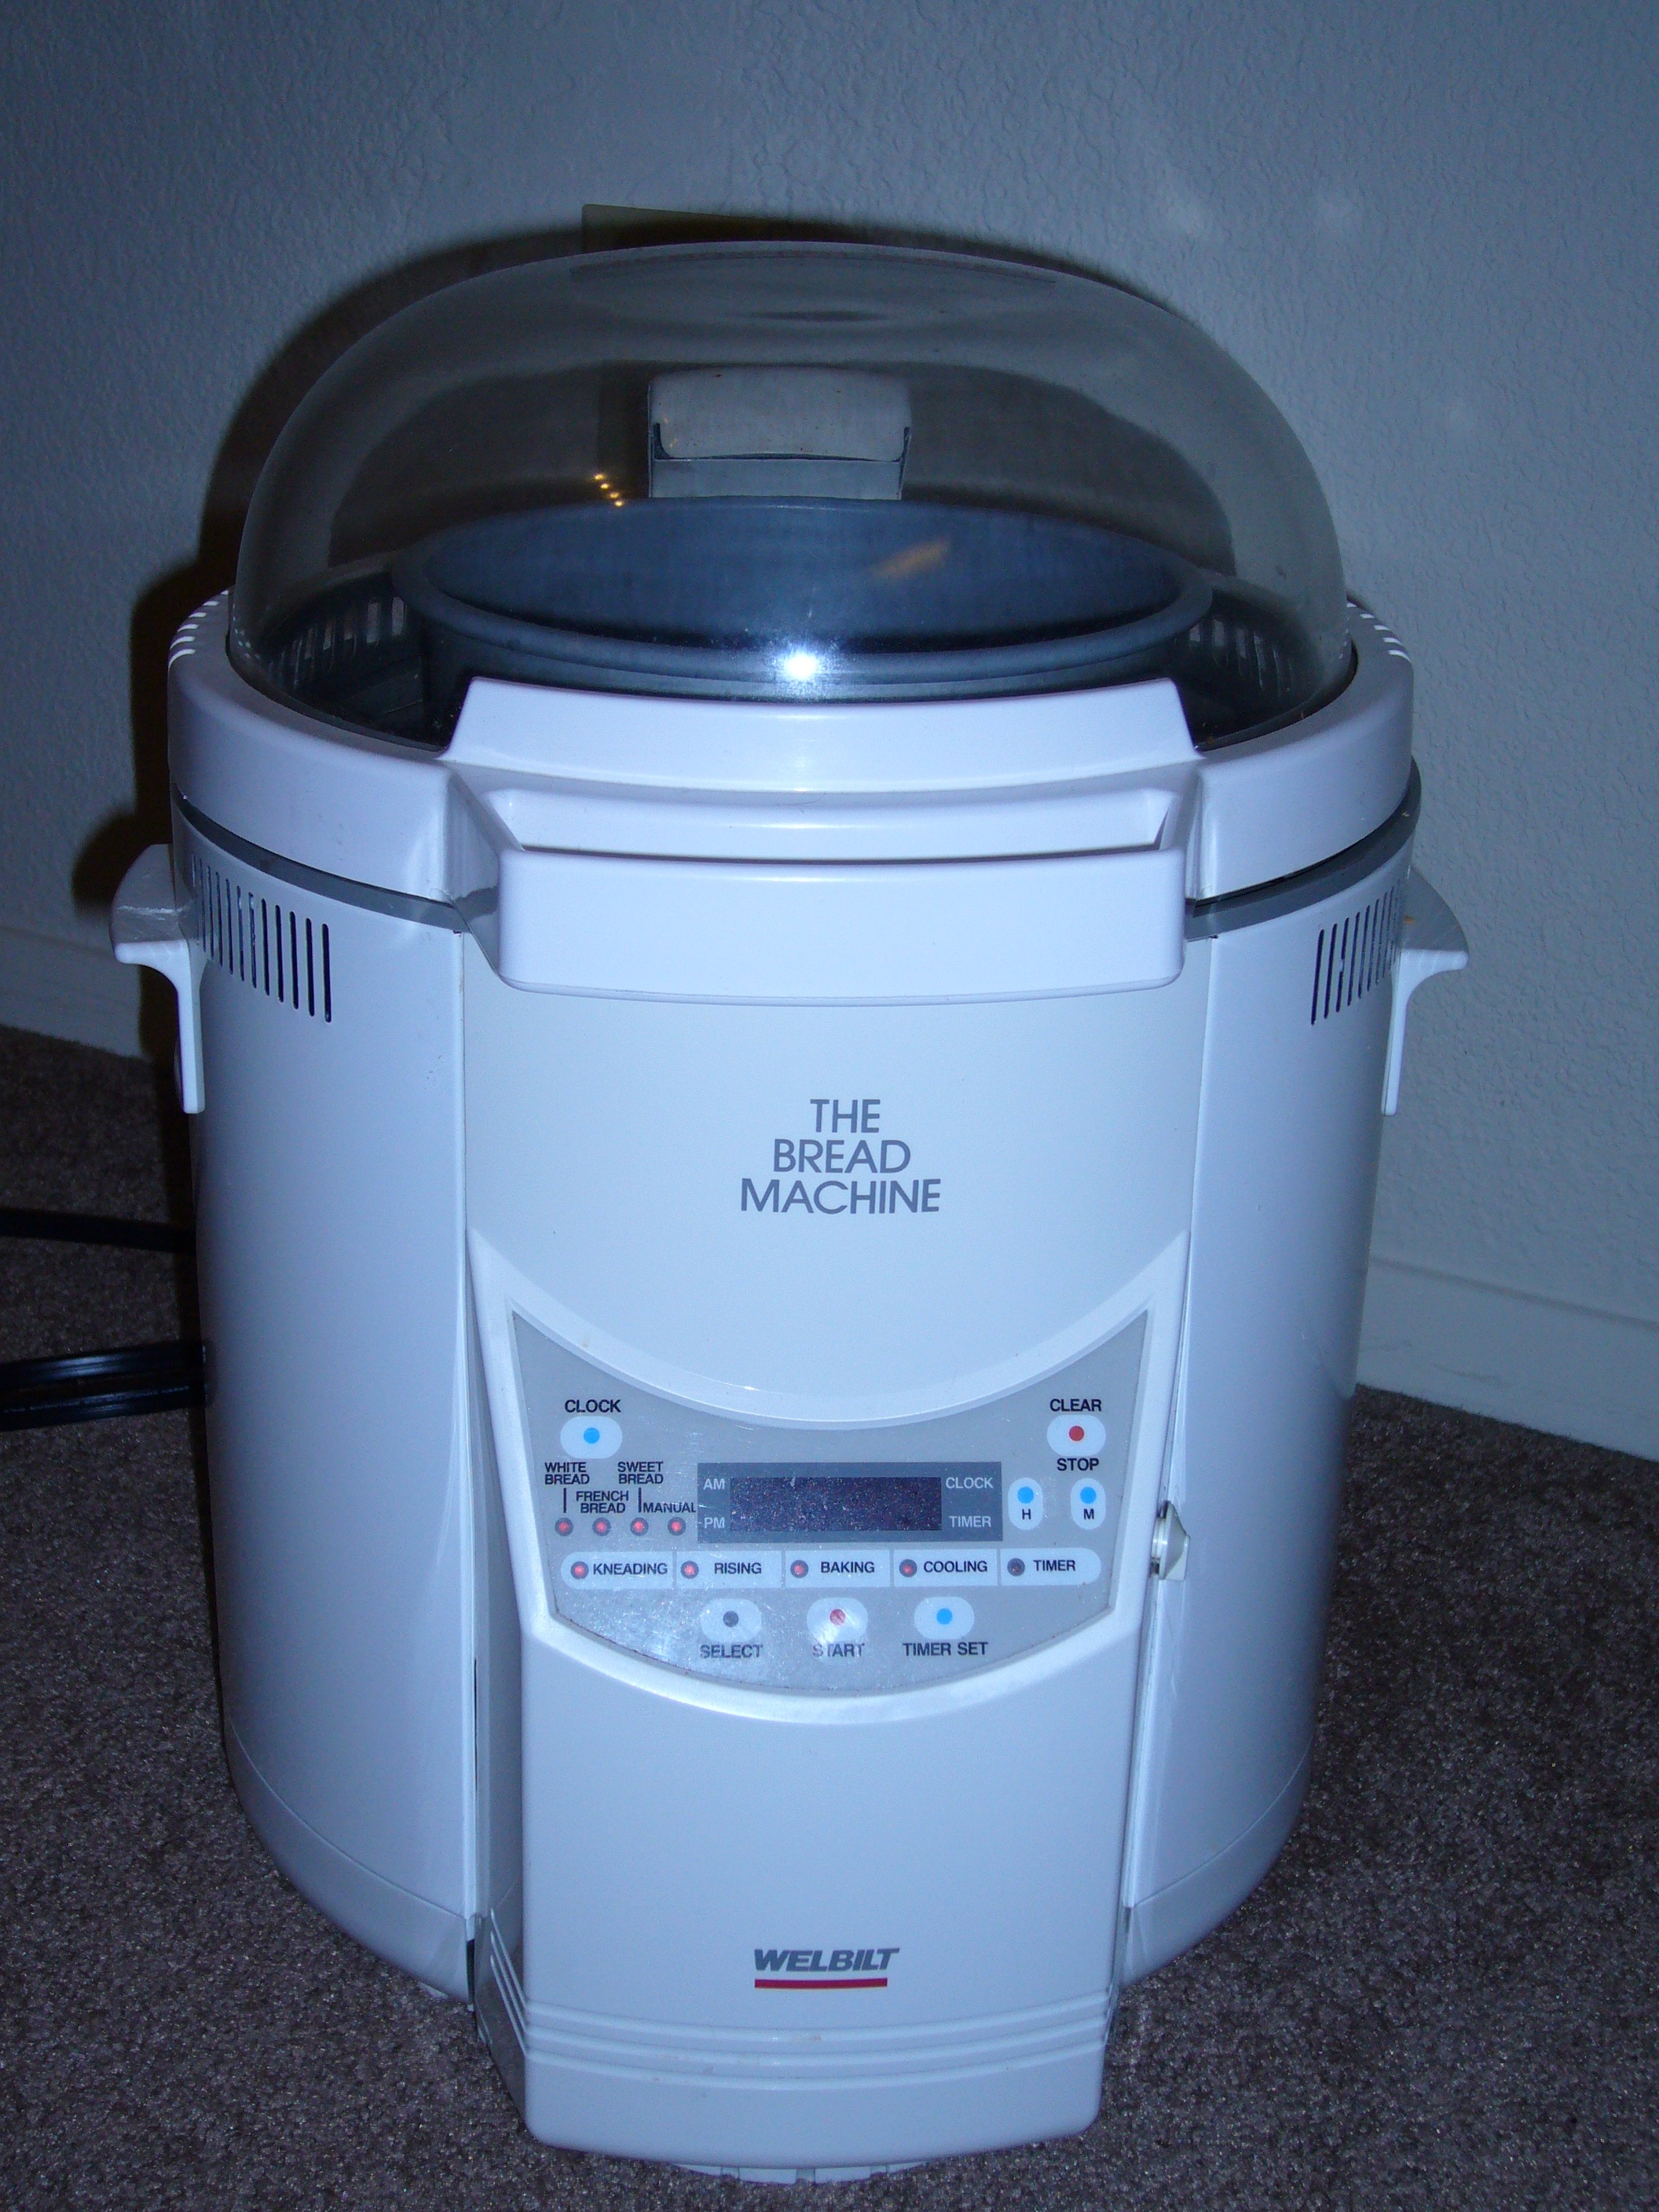
Let me back up a few months to tell the rest of this story. The last few months I started baking bread using an old bread machine I found in my parent's garage. I kid you not, it looks like
R2D2. In fact that's what I call him. (
See Photo Below). Because it's a bread machine, it comes with a kneading function which incidentally is the same type of technology used in mochi machines. (At least the one that my parents have). Up until this time, Mister man has mostly been in charge of pounding my mochi with bowl and pestle and was probably growing tired of it. One day he turns to me and says "I wonder if your bread machine can make mochi?" It was as if he hit a light switch. I don't know why I didn't think of that sooner. Mind you, the only thing Mister man can cook is udon and miso soup. He's learning though.
Eager to try it out and relieve himself of manual labor, he quickly set off to test his theory. He cooked the mochi rice in a rice cooker, dumped it in the bread machine and set the bread machine to the kneading cycle. The mochi took about 45 minutes from start to finish. Mister man wasn't sure how long to knead it for so he let it run for the whole cycle, which was about 15 minutes. Kneading times vary by machine but I found that 7 minutes worked well on mine. When you knead too long, it starts to get too gooey, which is what happened when Mister man did it for 15 minutes. If you don't have a bread machine you can use the kneading function on standing mixers. I have never tested that out but if it worked on a bread machine, I'm thinking it will work with a standing mixer. The only benefit I can see the bread machine having over the standing mixer is that the bowl is non stick.
Tip (Removing the mochi from the bread machine)
When removing the mochi from the bread machine, make sure you have a bowl of cold water handy so you can dip your fingers in it which keeps the rice from sticking to your hands. I found that the kneading process cools down the mochi so it's not unbearably hot. Do this step quickly and dip your fingers in the water after each nudge.
Tip (Shaping the mochi)
Mochi can be very messy if you try to ball them up into individual size pieces. I like to drop all of the mochi onto a plastic lined grill pan. There are mochi trays in Japan with both horizontal and vertical lines that leave an imprint on the mochi so you can cut it after it cooks. Unfortunately, they are hard to come by so I improvised with a grill pan. Once all the mochi is on the tray or pan, place plastic wrap over it and smooth out the mochi with your hands. Let the mochi cool and place in the freezer about 4-5 hours and cut into squares. If you use a grill pan, you'll have at least some lines to guide the your cuts.
My bread machine R2D2.

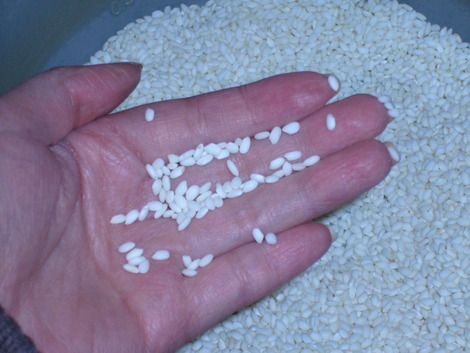
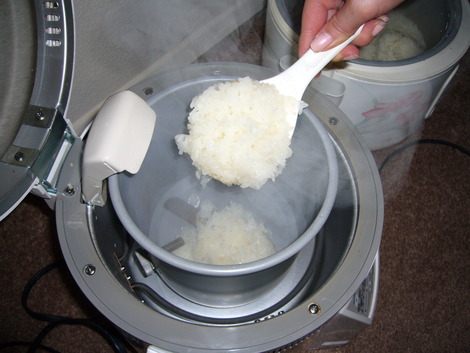
Mochi rice is different from regular rice. It's whiter and is more plump than regular Japanese rice.
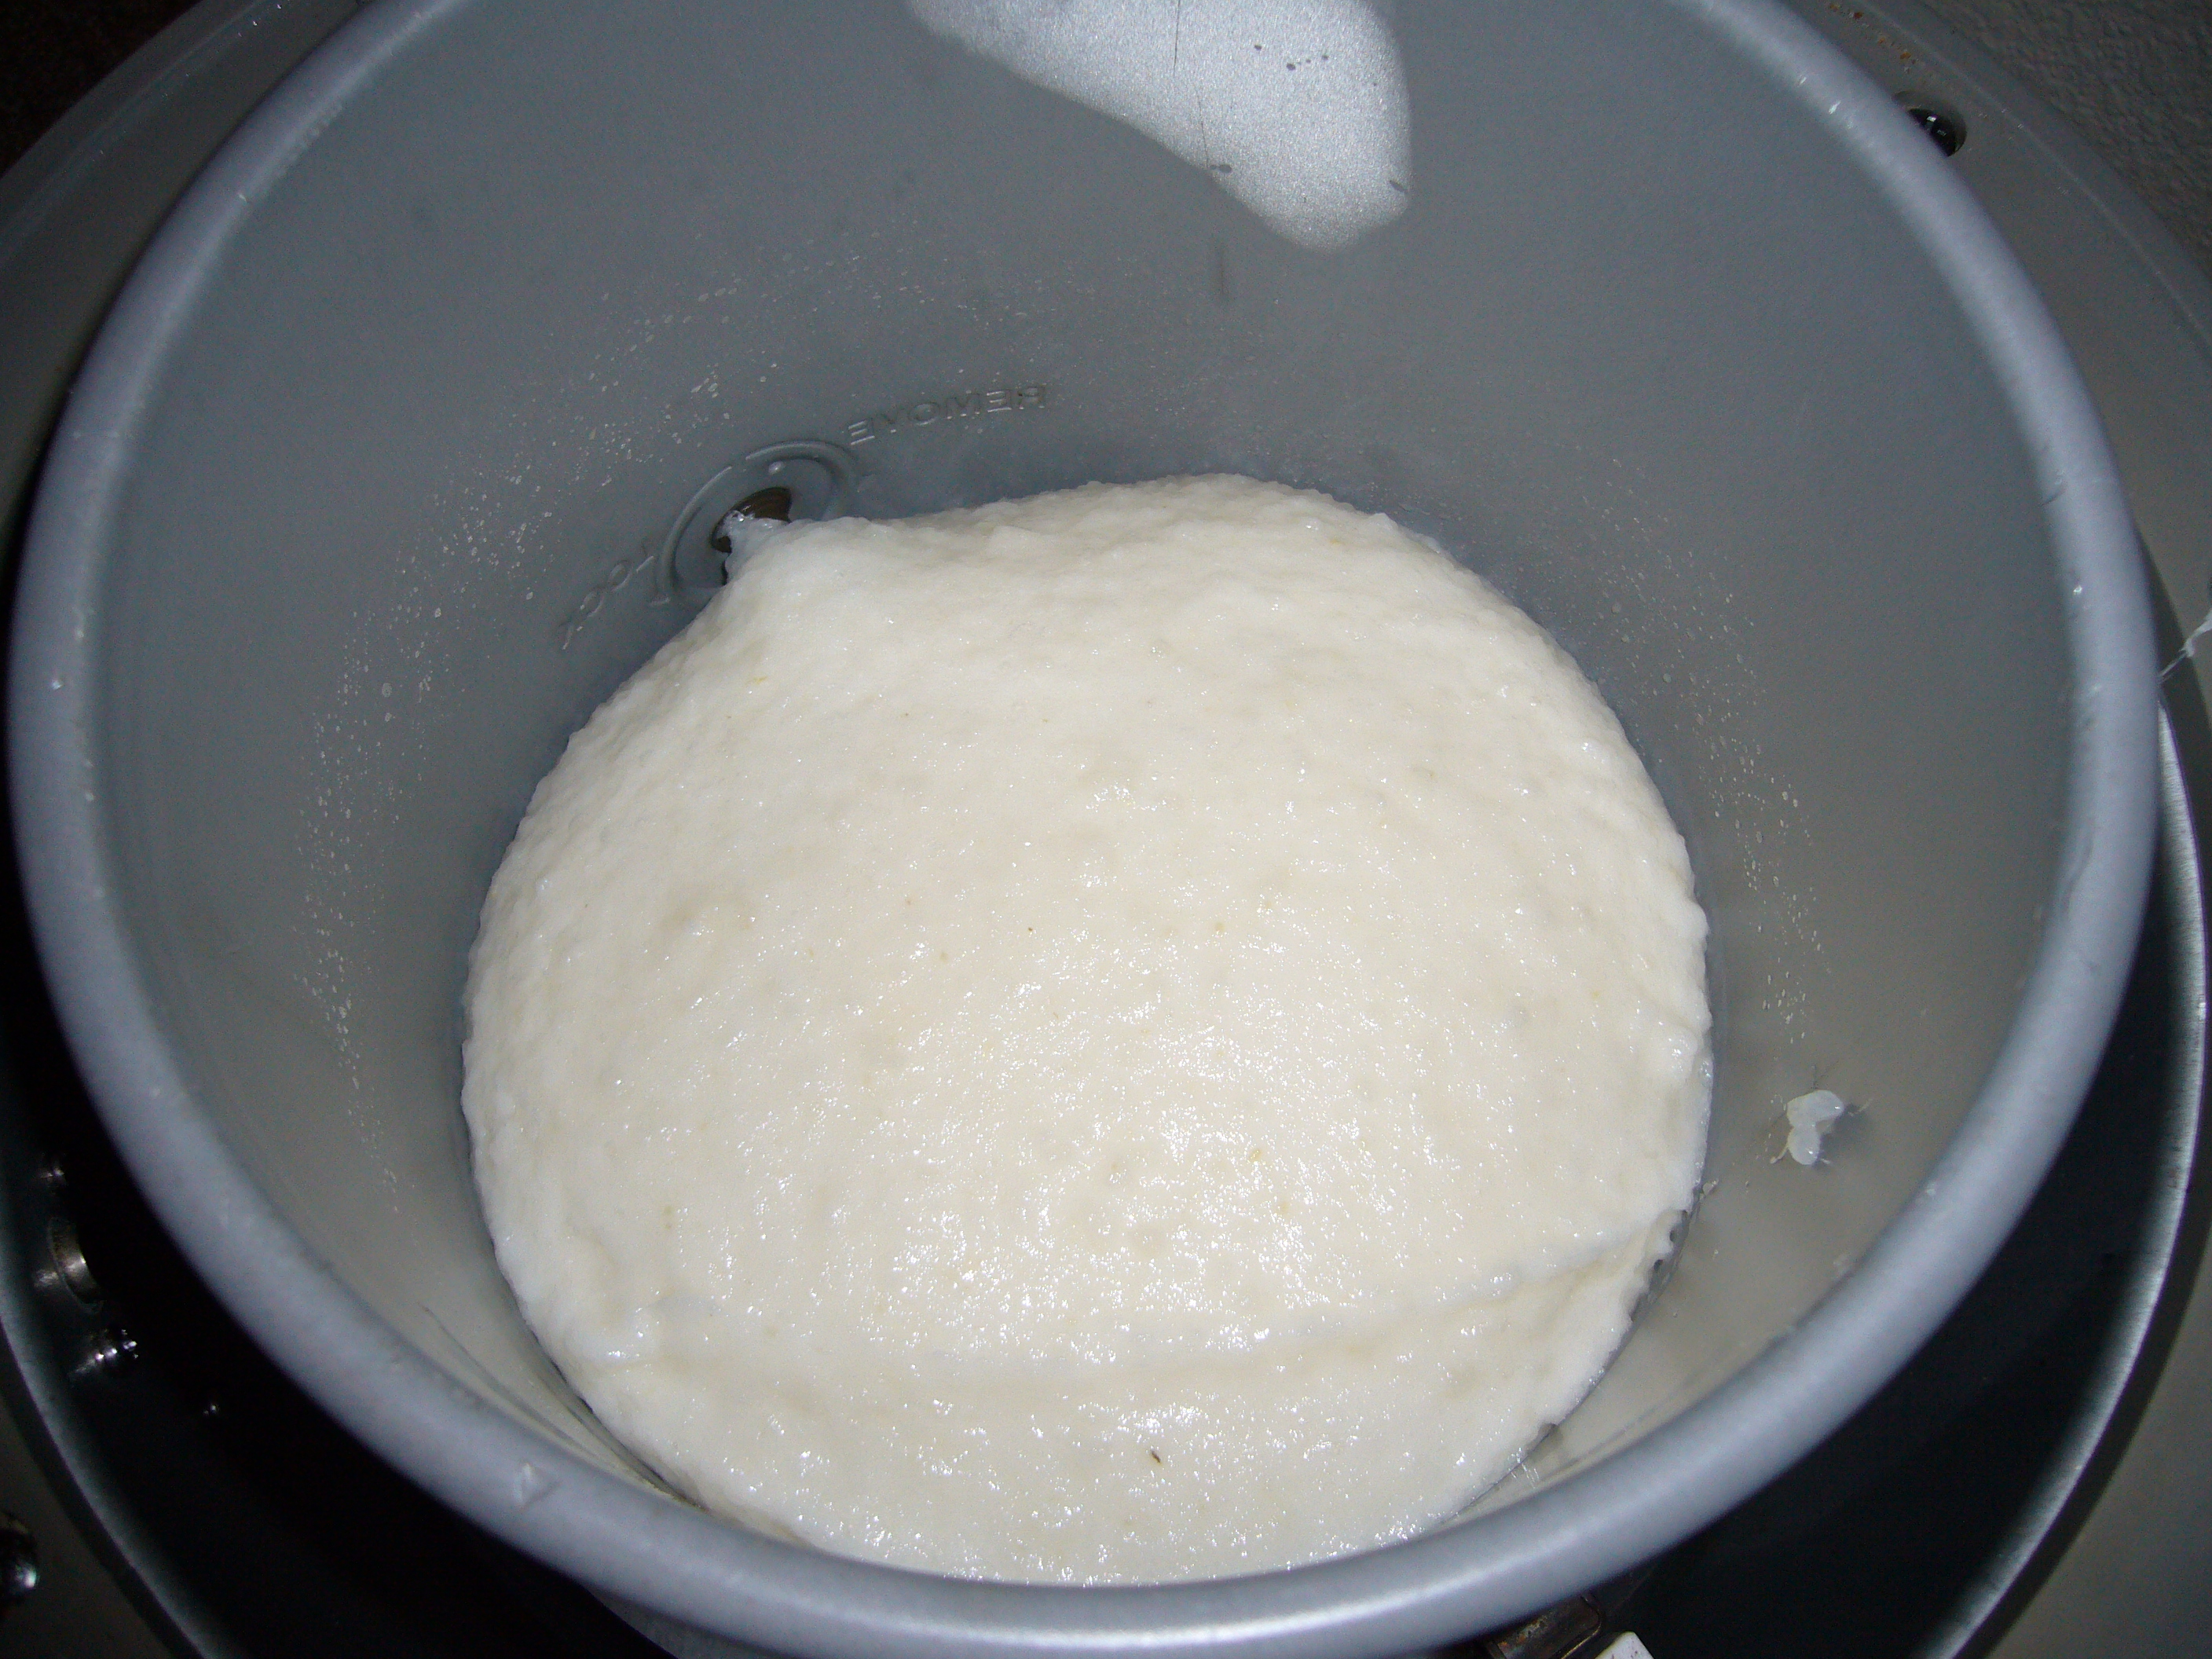
After cooking the sweet rice (mochi rice) in the rice cooker, add it to the bread machine or standing mixer with a kneading function.
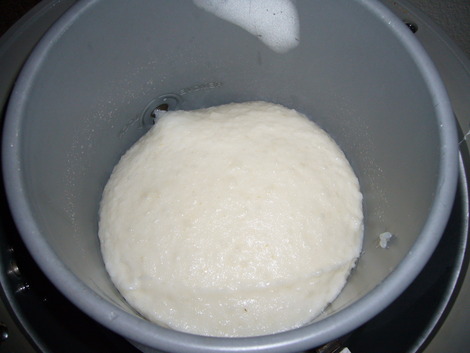
After 7 minutes on the kneading cycle, the mochi rice is mochi! (Kneading times may vary with machine)
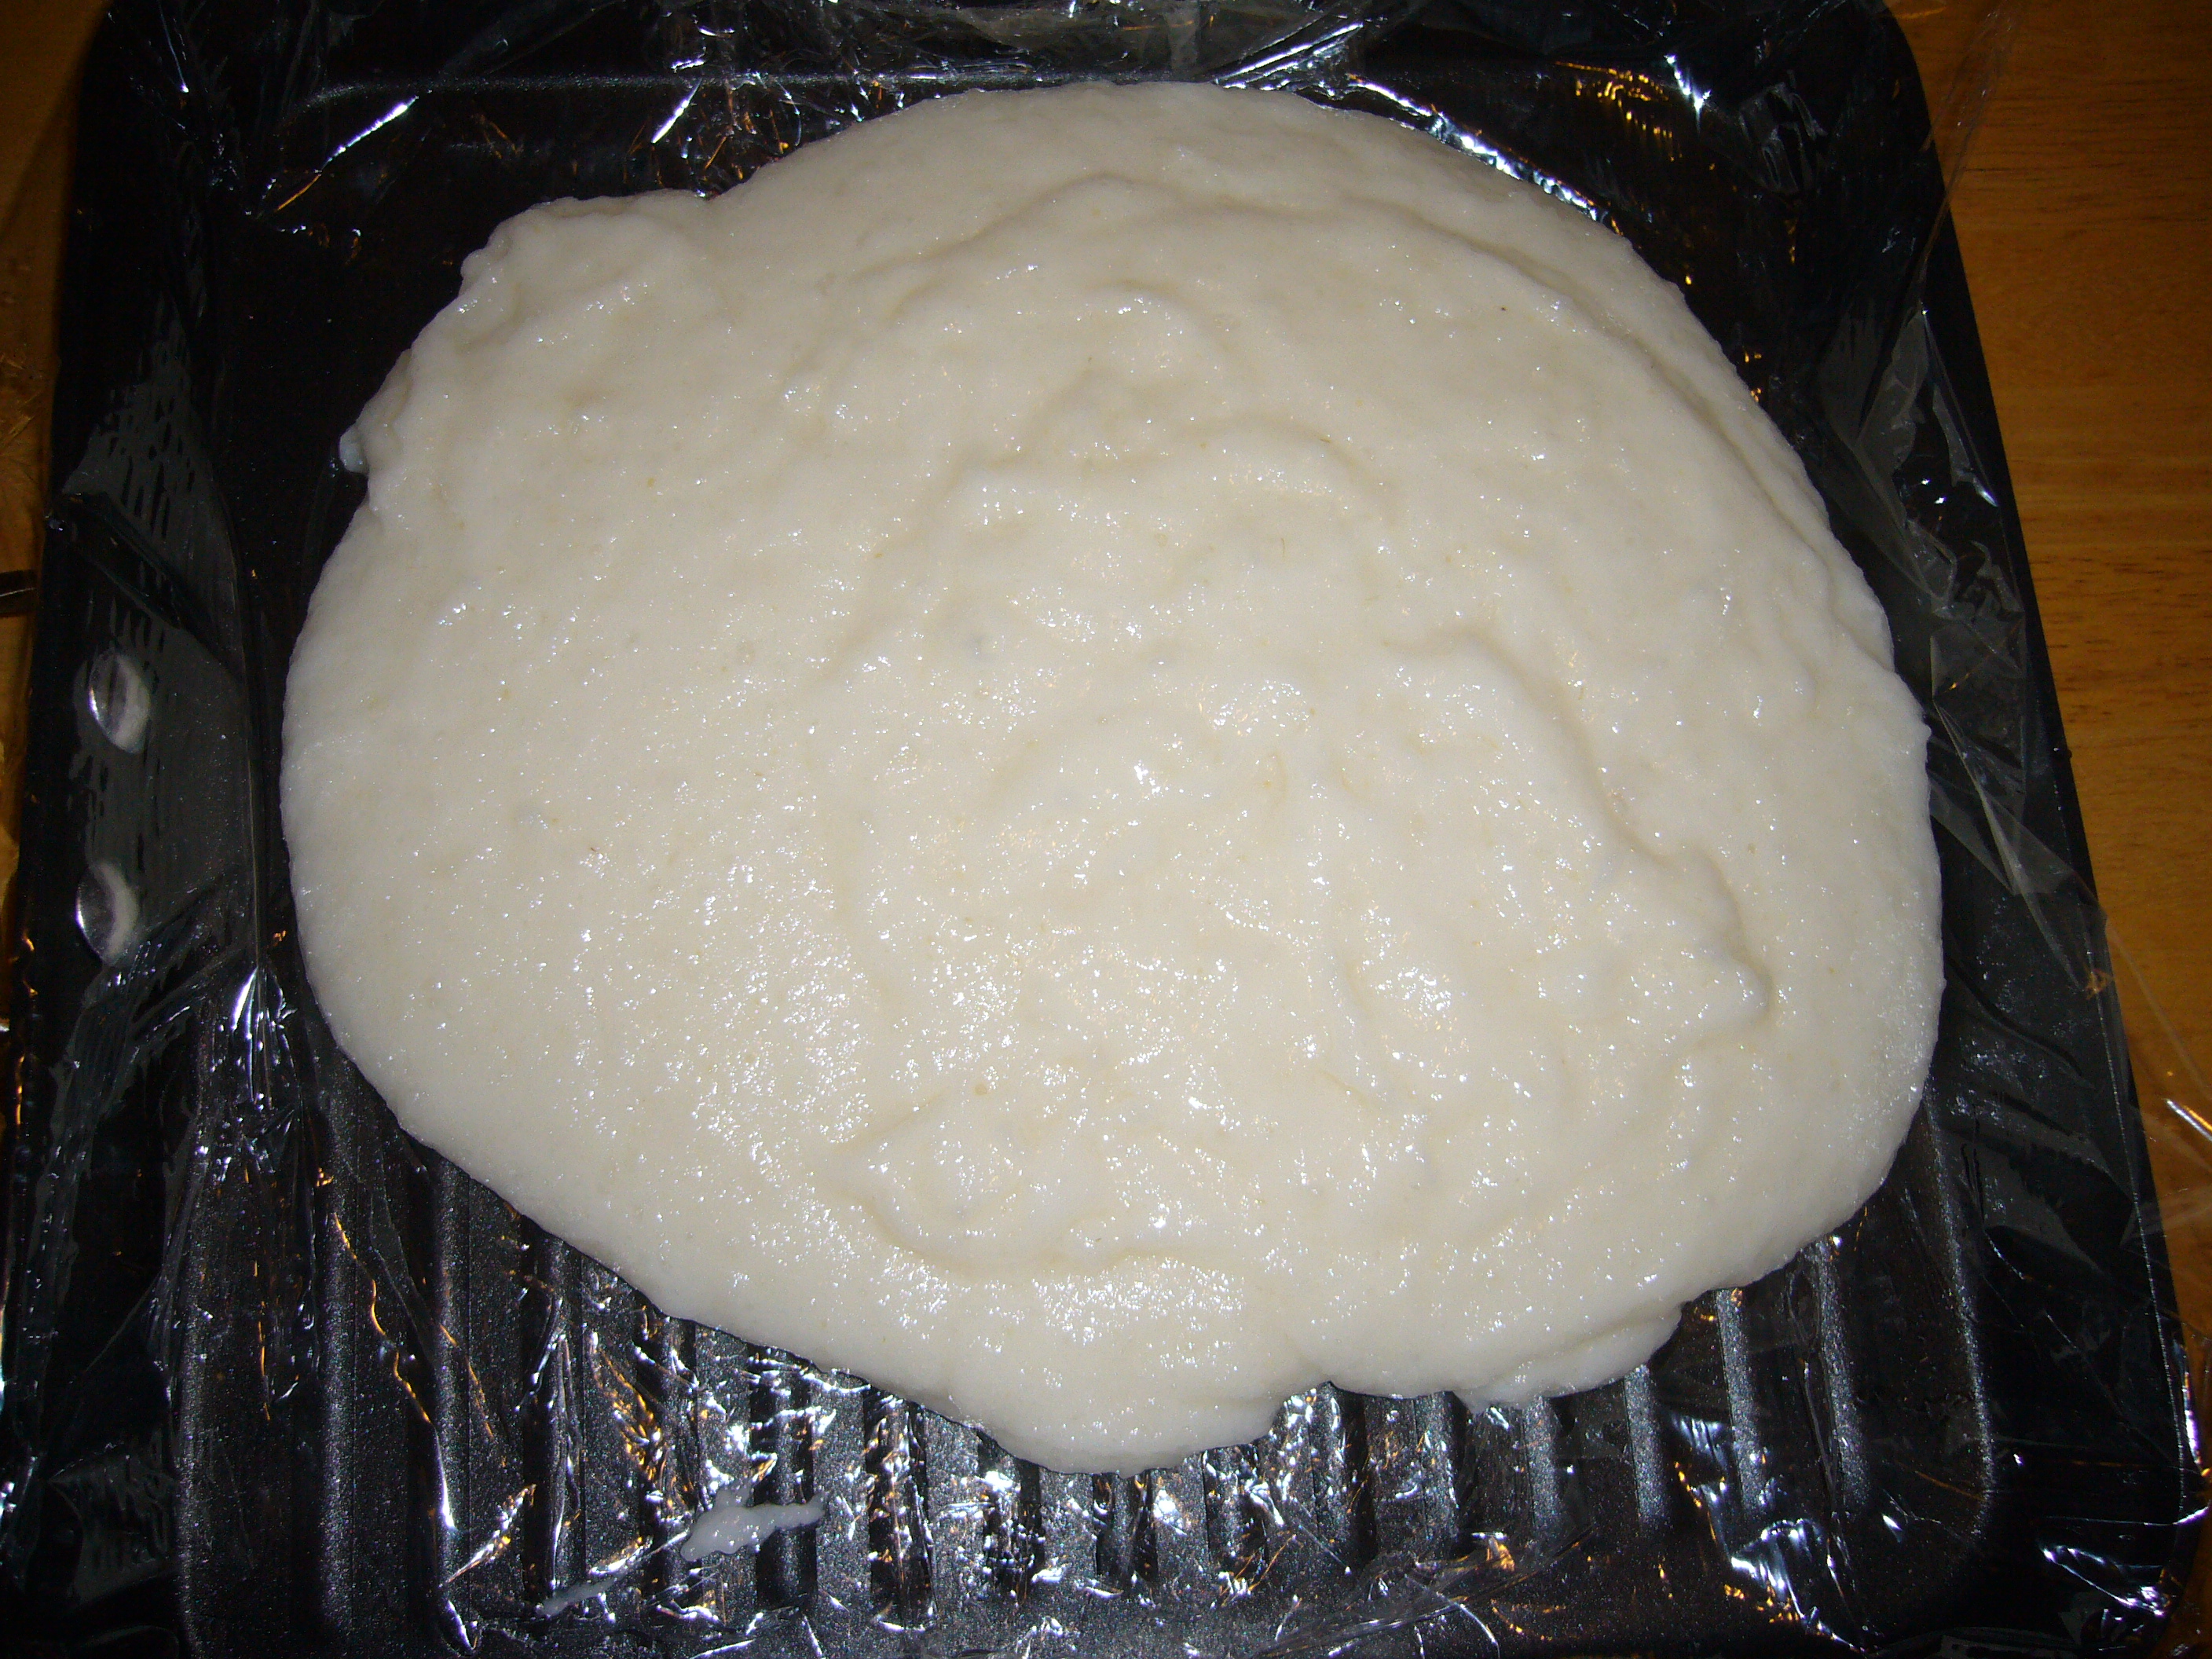
Line a tray or grill pan with plastic wrap.

Dump the mochi onto a plastic lined tray or grill pan. Use your hands and water!
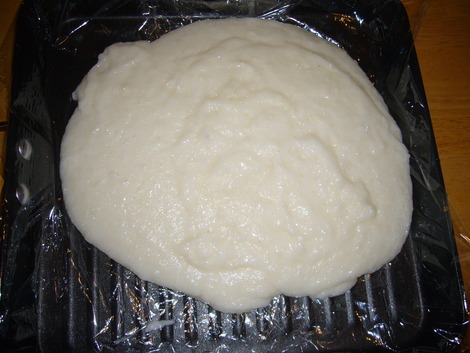
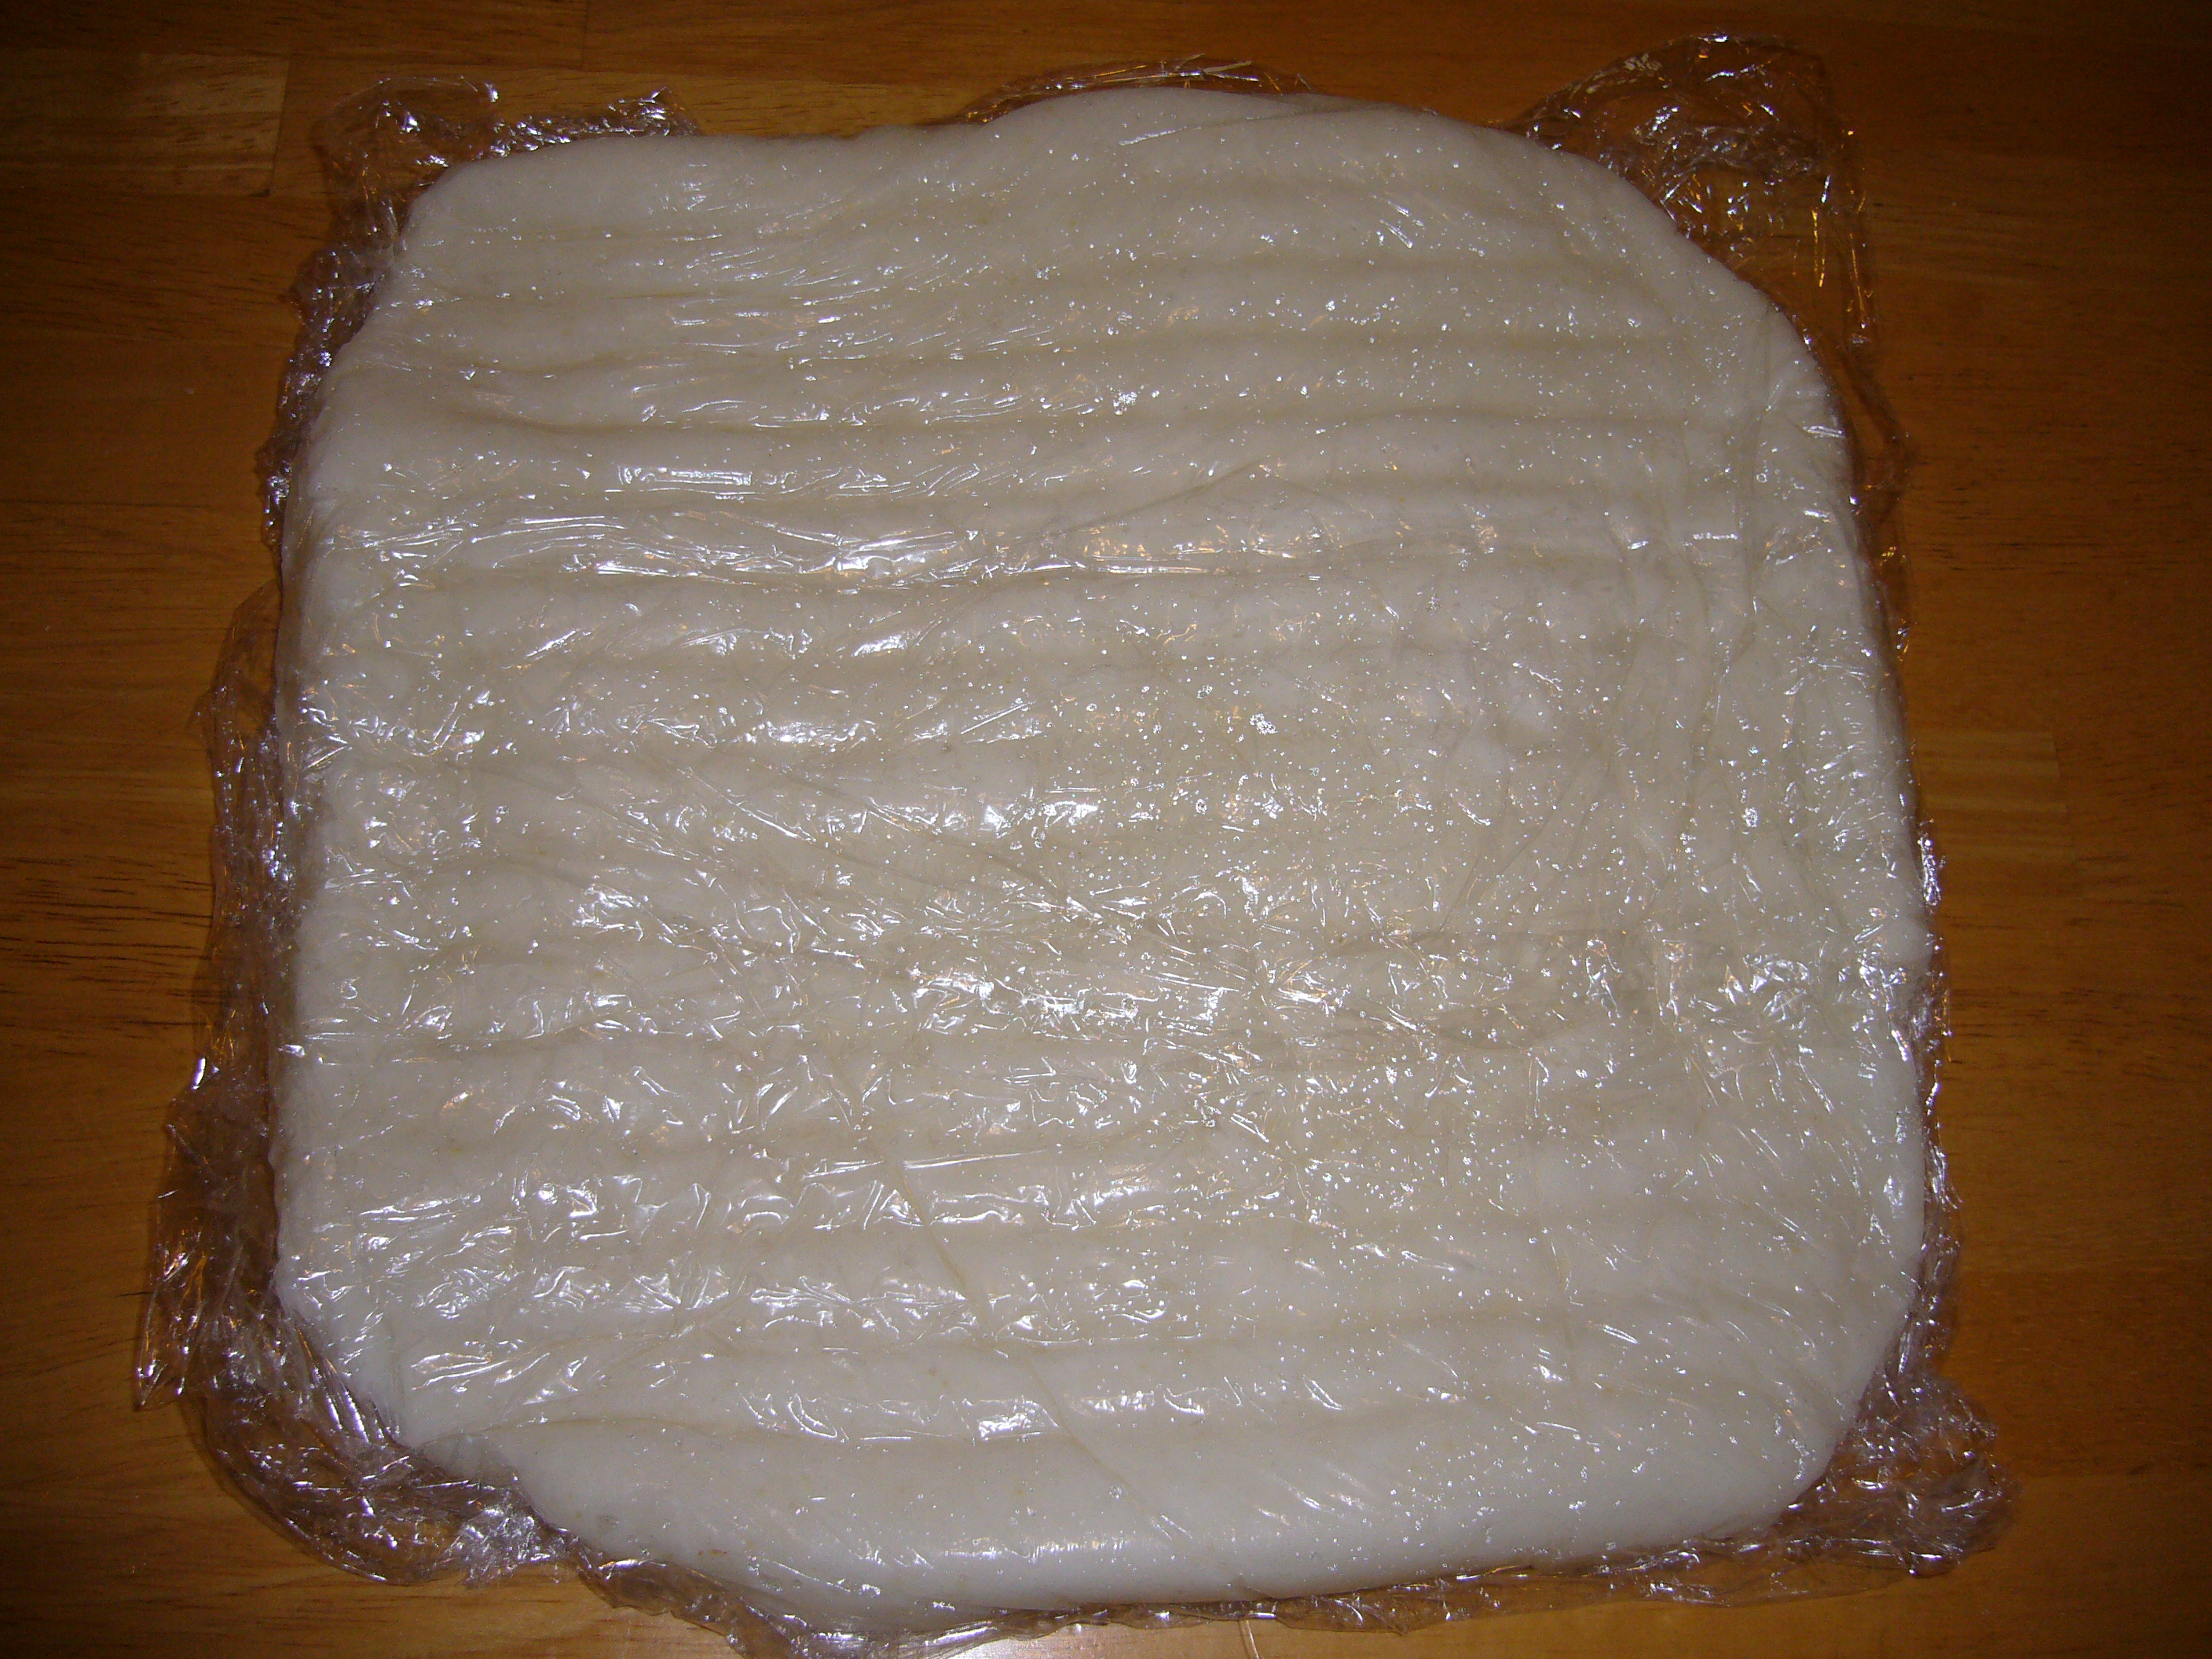
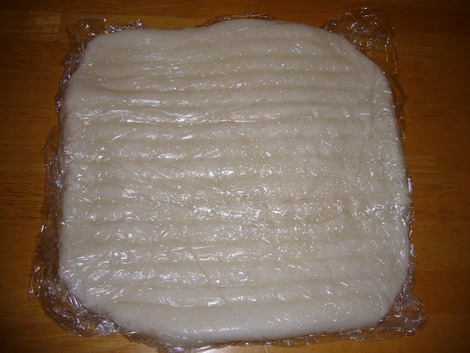
Lay plastic wrap over the top and spread out the mochi so that it's about 1 inch thick all around.
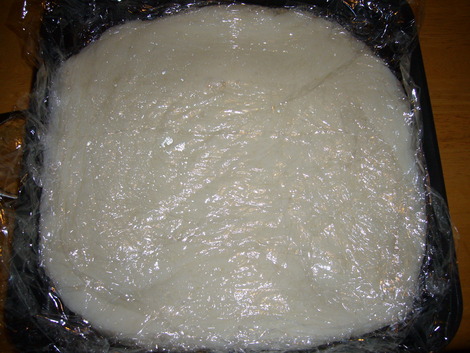
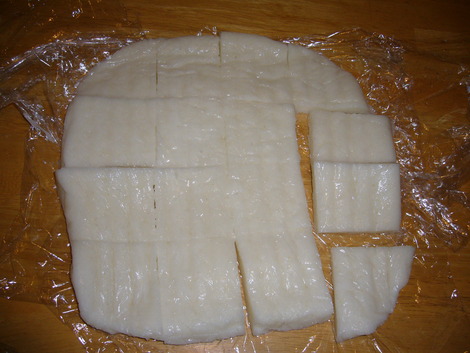
Place in freezer for 4-5 hours and flip over to see the lines.
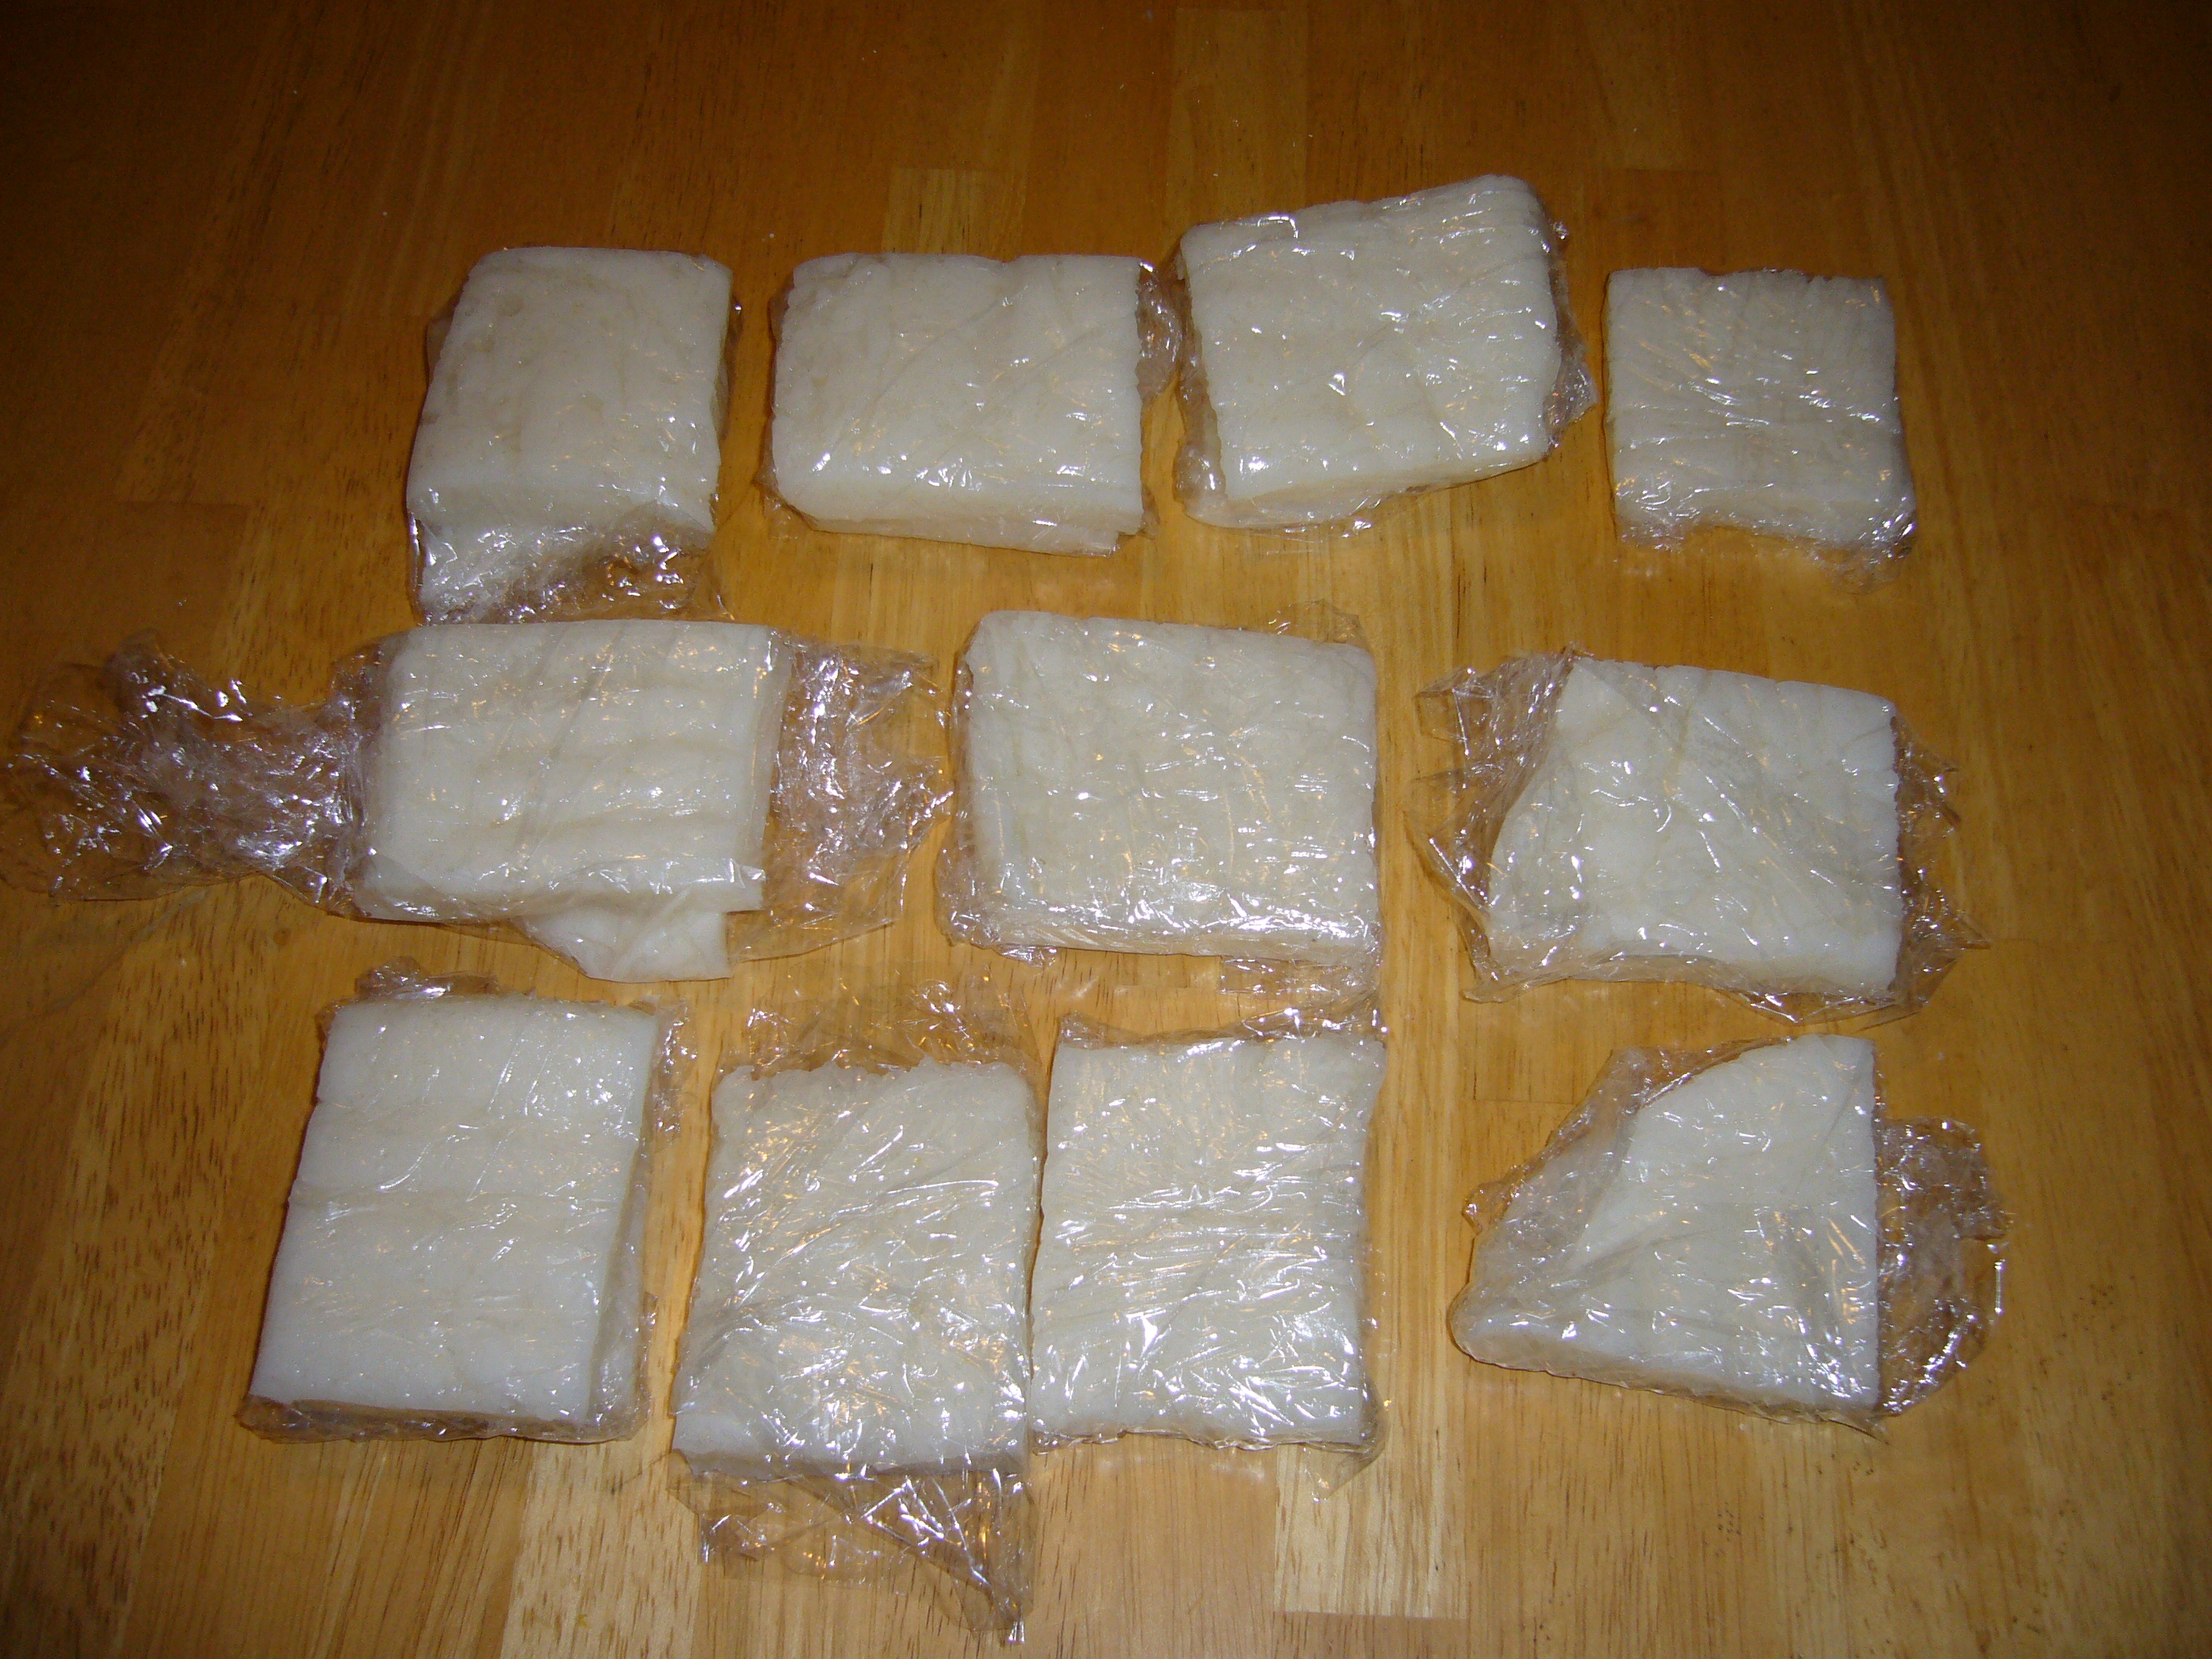
Cut the mochi into squares.
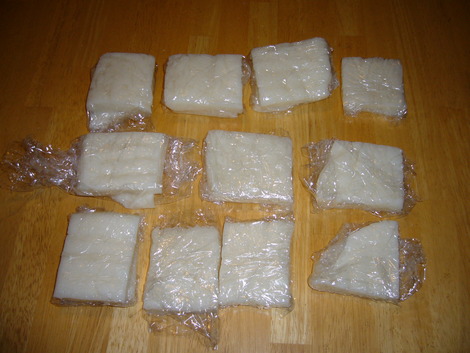
Wrap two at a time or one at a time into individual servings. Place the remaining mochi in a plastic bag and freeze.
 Maru mochi (round mochi) vs. Shikakui mochi (square mochi)
In the Kansai region, mochi are typically round and in the Kanto area, they are square. I'm not sure about the rest of Japan but I find that making the square mochi are waaaaay easier.